
Last updated September 20, 2026
Free on-site gate assessment - hinges, posts, and your LiftMaster or Nice gate operator checked before anything is quoted
The assessment is free and the quote is the invoice.

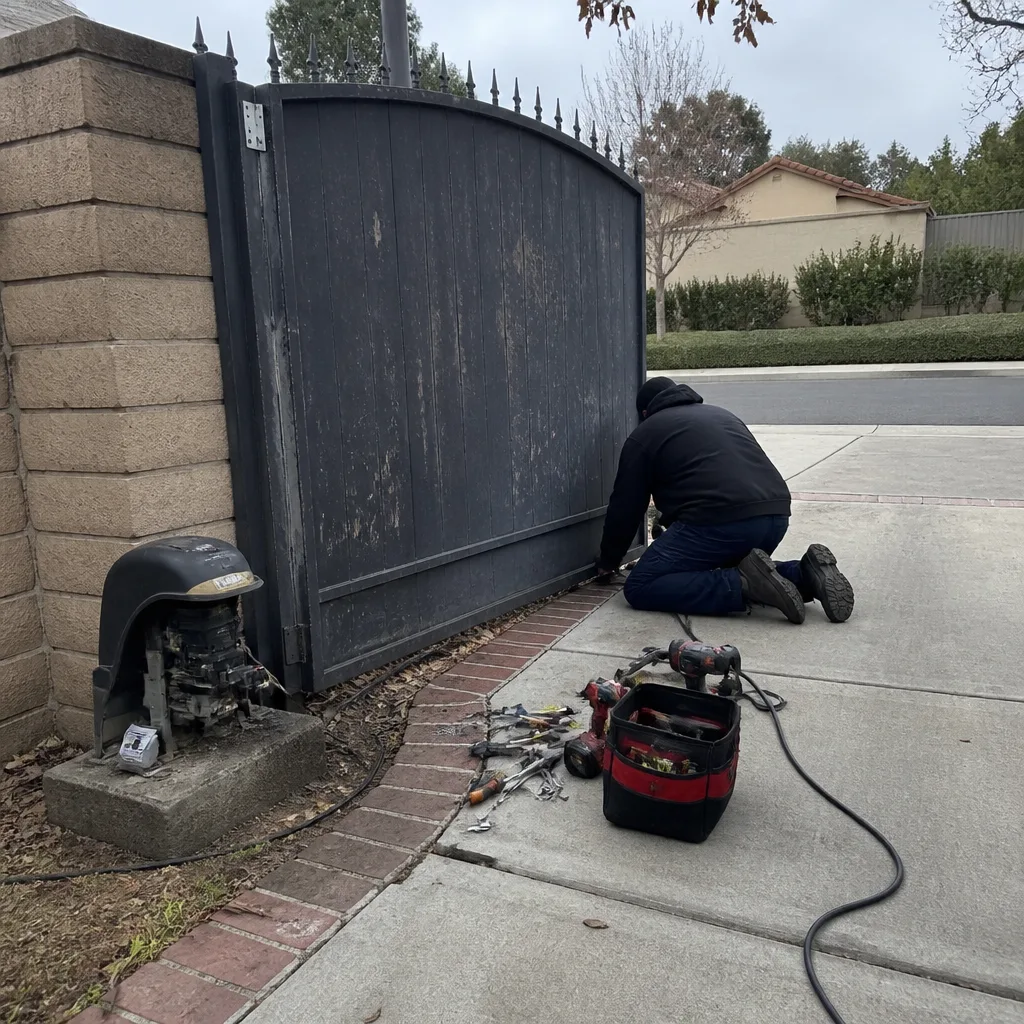 Before
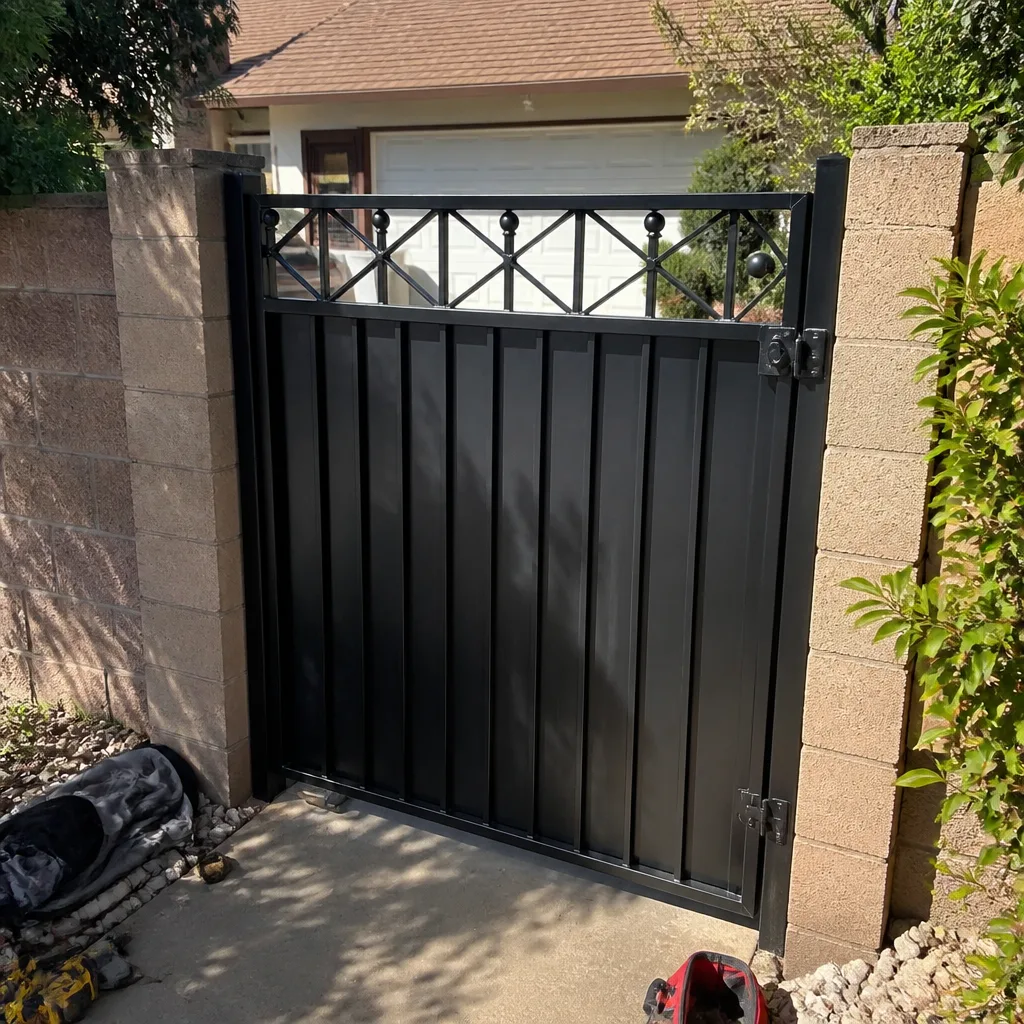 After
After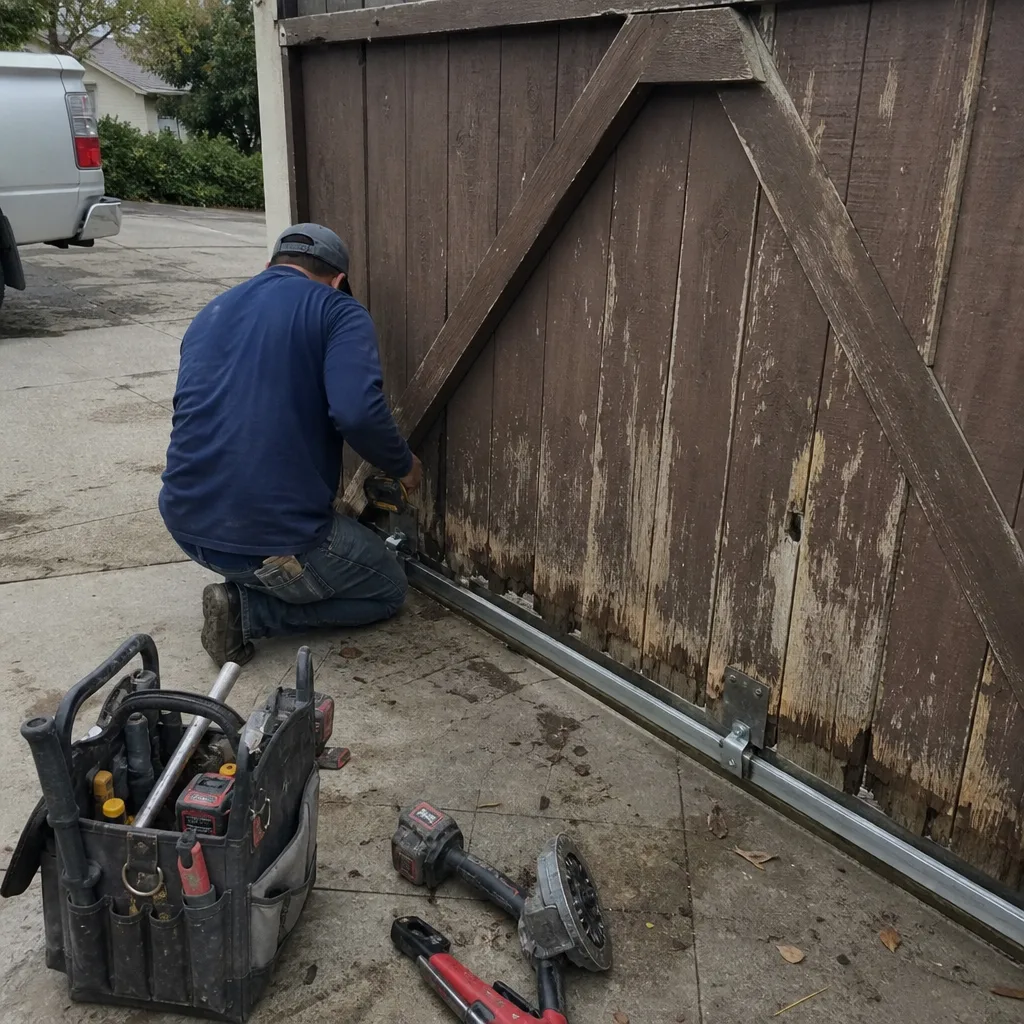 Before
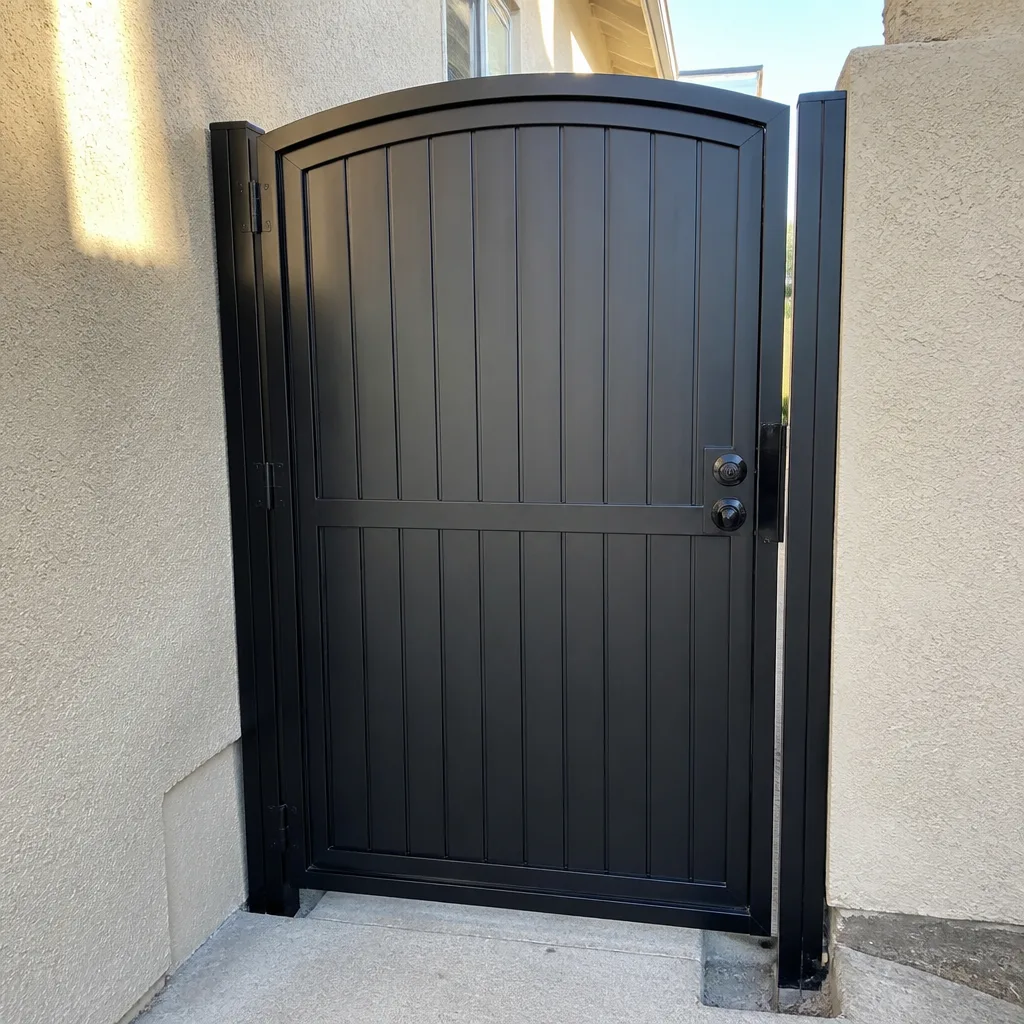 After
After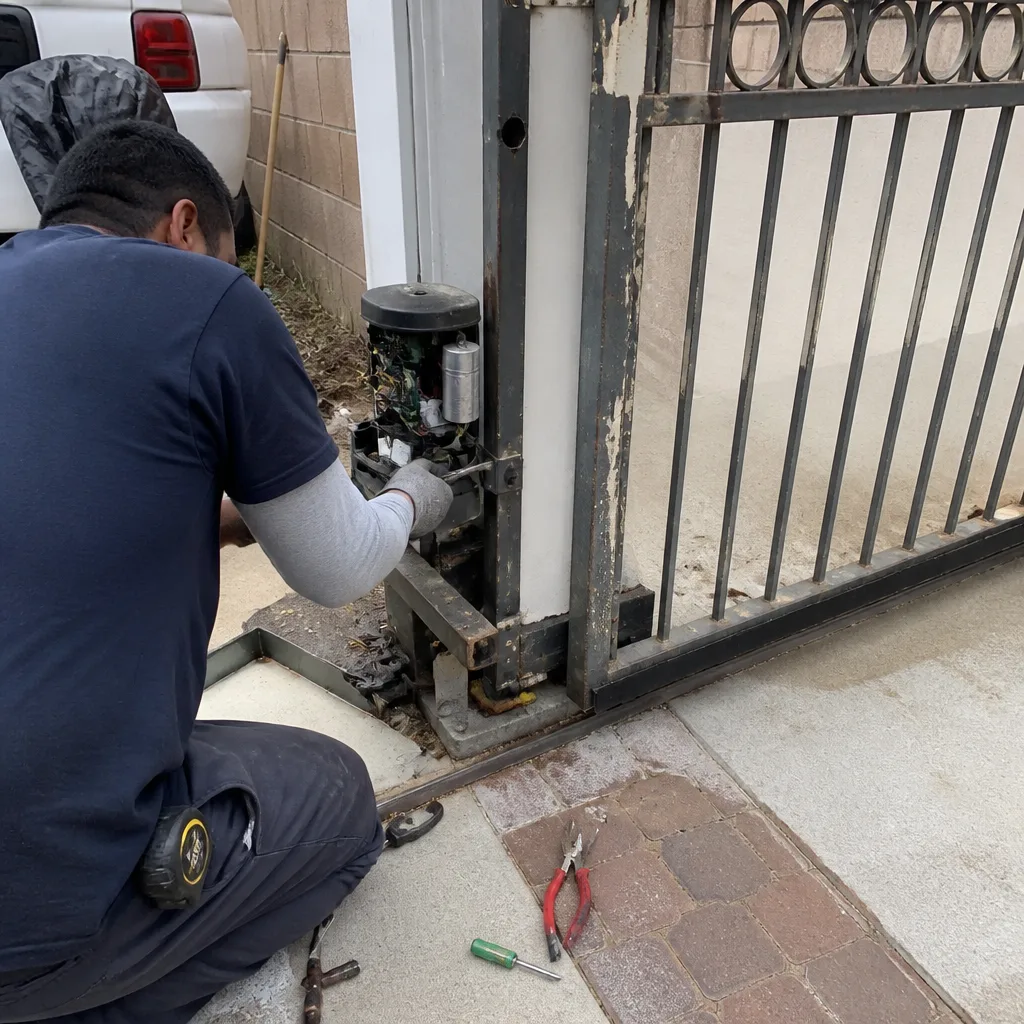 Before
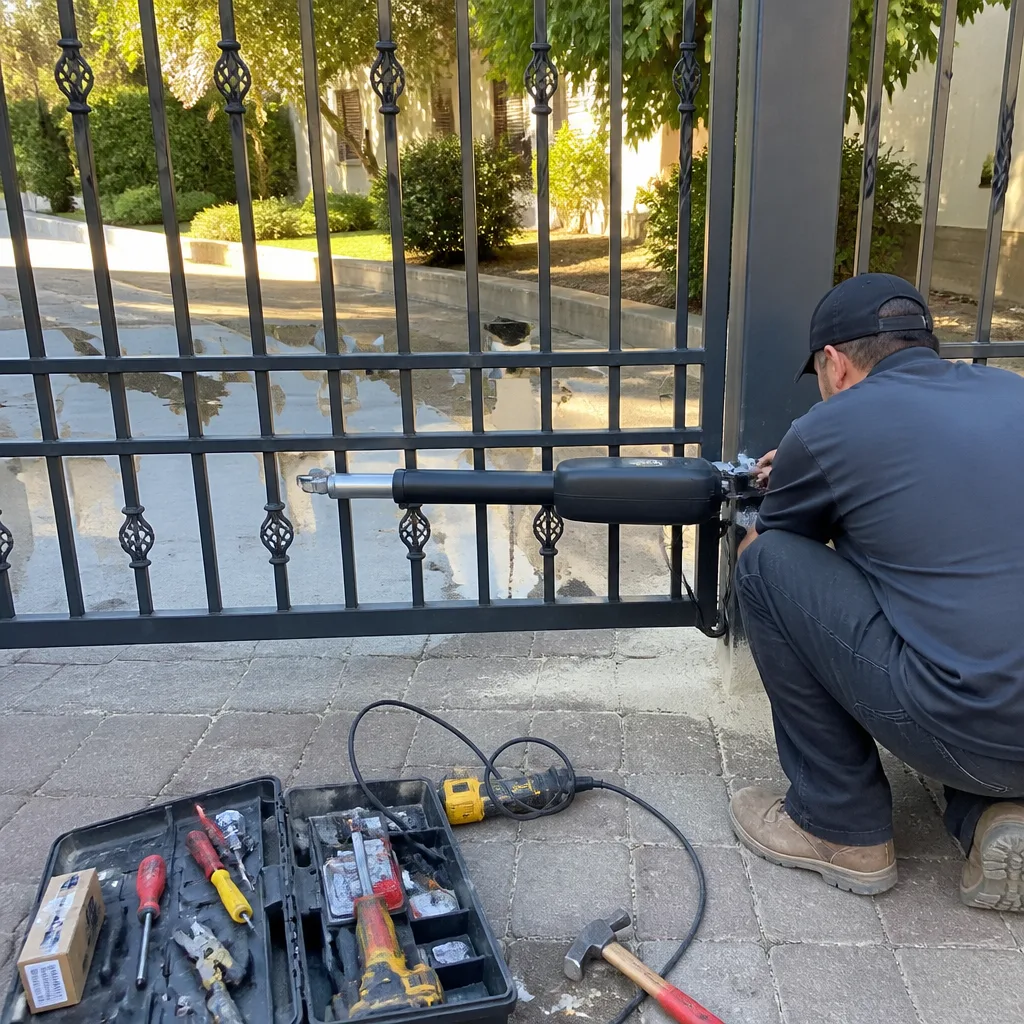 After
AfterDIY vs Professional Gate Repair: The Simi Valley Homeowner’s Decision Guide
Here’s a counterintuitive fact we’ve learned after a decade in Simi Valley driveways: the homeowner who successfully rebuilds a gate hinge set usually fails spectacularly at a control board swap. And it has nothing to do with handiness. It has to do with fault category. A broken wheel is a mechanical problem with visible cause and effect. A misbehaving gate operator is an electrical system governed by UL 325 safety standards, and the failure mode is often invisible until someone gets hurt. This guide maps the DIY decision to what broke, not how confident you feel. By the end, you’ll know exactly which repairs belong in your hands, which belong in a technician’s, and how to work on your gate without erasing the diagnostic trail our Gate Repair services team needs.
Quick Answer
DIY gate repair in Simi Valley is appropriate for mechanical hardware: hinge lubrication, wheel replacement, track cleaning, remote batteries, and basic alignment. It is not appropriate for anything touching the control board, operator wiring, safety device circuit, or loop detector calibration. The dividing line is UL 325 compliance: if the part you’re about to touch sends or receives a safety signal, the liability for getting it wrong transfers from the gate to you. Call a professional for electrical and safety-circuit work; handle the bolts and grease yourself if you’re capable and careful.
Table of Contents
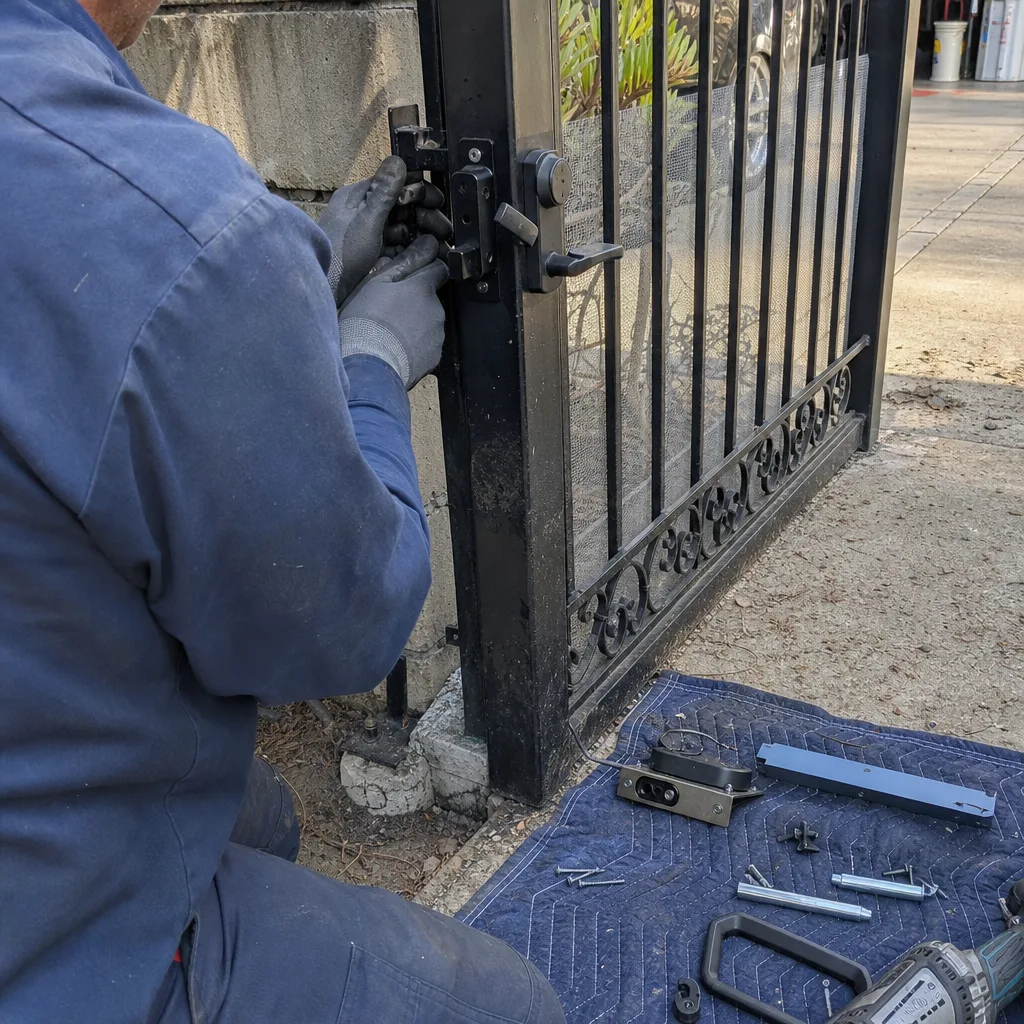
- The Fault-Category Framework: What Breaks, and Who Should Fix It
- UL 325 Explained: The Line You Should Not Cross
- Safe DIY Repairs: A Step-by-Step Framework
- Professional-Only Repairs: Control Boards, Wiring, and Safety Circuits
- The Real Cost of a DIY Repair Gone Wrong in Simi Valley
- Documenting Your DIY Work So a Technician Isn’t Starting From Zero
- Simi Valley-Specific Conditions That Shift the Decision
- Common Mistakes to Avoid
BeforeAfterThe Fault-Category Framework: What Breaks, and Who Should Fix It
Every gate failure falls into one of three categories. The first is mechanical wear: hinges, wheels, tracks, chain tension, physical alignment. These parts move, rub, corrode, and fatigue, and they fail in visible, predictable ways. The second is electrical component failure: motors, control boards, capacitors, limit switches. These fail from voltage spikes, moisture ingress, or simply age, and diagnosing them requires testing live circuits. The third is safety device malfunction: photo-eyes, safety edges, loop detectors, and the wiring that connects them to the operator. This third category is where DIY work becomes genuinely dangerous, because the part is not just a convenience feature. It is a federally recognized safety barrier.
In Simi Valley specifically, we see a fourth condition that doesn’t fit neatly into any category: grade-load complications. Many homes in the hills above Madera Road or along the Santa Susana Knolls sit on sloped lots where a gate operates against gravity. A wheel that fails on flat ground strips and stalls. A wheel that fails on a 12-degree grade puts the entire weight of the gate into the bottom hinge, bending brackets and warping the frame. That mechanical problem now has structural consequences, and “just replace the wheel” becomes the wrong repair. Knowing which category you’re in, and whether your specific Simi Valley site adds a grade-load multiplier, is the first decision in the DIY-versus-professional question.
Fault-Category Decision Table
| Fault Category | Examples | DIY Appropriate? | Reason |
|---|---|---|---|
| Mechanical wear | Hinge lubrication, wheel replacement, track cleaning, chain adjustment, bolt tightening | Yes, with care | Visible cause and effect; failure is annoying, not dangerous |
| Electrical component failure | Motor capacitor, limit switch, remote receiver board | No | Requires live-circuit diagnostics; incorrect parts cause cascading failures |
| Safety device malfunction | Photo-eye misalignment, safety edge wiring, loop detector calibration | No, not ever | UL 325 liability; a bypassed safety device transfers legal responsibility to whoever modified it |
| Grade-load damage | Bent bottom hinge, warped frame on sloped driveways | No | Structural compounding; requires full load-path assessment, common in Simi Valley hillside homes |
This table is the whole decision framework in miniature. If you’re not sure which category your problem falls into, start by asking one question: does this part stop the gate when something is in the way? If the answer is yes, it’s a safety device, and the DIY decision is already made for you.
UL 325 Explained: The Line You Should Not Cross
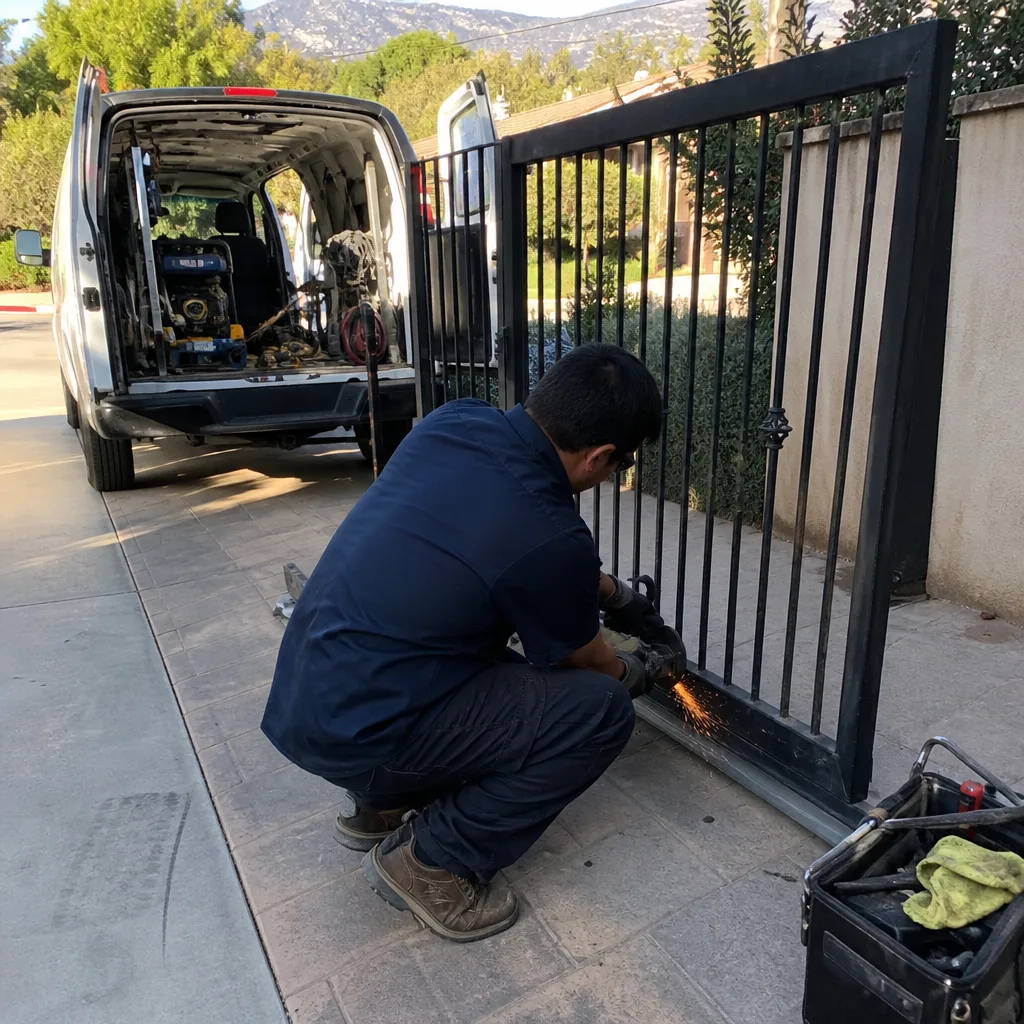
UL 325 is the safety standard that governs automatic gate operators in the United States. It sets the requirements for entrapment protection, meaning the systems that must be in place to prevent a gate from crushing, pinning, or dragging a person. Every automatic gate installed in Simi Valley is subject to this standard, and every modification to that gate’s safety systems carries legal implications. Here’s the uncomfortable truth: when you bypass a safety edge sensor to get the gate moving again, you have not fixed a problem. You have created a UL 325 liability condition. If that gate later strikes someone, your bypass is a documented fact that will be discovered in discovery. The legal question will not be “was the gate working?” It will be “who altered the safety circuit, and when?”
This is the hardest line in the DIY decision, and it is not a judgment on anyone’s competence. A homeowner who has successfully rebuilt a motorcycle engine will still not have the training to verify that a photo-eye signal is being interpreted correctly by a Viking or Ghost Controls operator’s logic board. The issue is not skill. It is the specific nature of safety circuits: they fail in ways that look like they’re working. A safety edge can be physically intact but electrically dead. A photo-eye can be misaligned by two inches and still send enough signal to satisfy a quick visual check. The only way to verify function is with a meter and an understanding of the operator’s safety input logic, which is a commercial skillset, not a residential one.
We have seen the aftermath of DIY safety-circuit work in Simi Valley, and while we will not rehearse the details, the pattern is consistent: a homeowner does a temporary bypass “just to get it working,” then the temporary bypass becomes the permanent condition, then a child or a delivery driver is in the wrong place at the wrong time. No gate repair, no matter how expensive, is worth that sequence. This is the one category where the decision is not even a decision. Do not touch the safety circuit. Call a professional who can test it and fix it properly.
Safe DIY Repairs: A Step-by-Step Framework
For mechanical hardware work, a capable homeowner can absolutely do legitimate gate repair. The key is to work systematically, use the right tools, and document everything you touch before and after. Here is the framework we recommend, and it is the same framework we use on our own jobs in Simi Valley. For Gate Repair Maintenance Checklist for Simi Valley Homeowners, see our dedicated guide.
- Disconnect operator power before mechanical work. If your gate is automated, unplug the operator or switch off the breaker. You’re working on a moving assembly, and the operator does not know you’re there.
- Photograph every joint before you touch it. Shoot the hinge line, the wheel bracket, the track, the chain tensioner, from at least three angles. These photos are your baseline. If something goes wrong, a technician can use them to reverse-engineer what you changed.
- Check the load path before disassembly. Gate is open. Gate is closed. Look at where the weight rests in each position. If you remove this bolt, does the gate drop? On sloped Simi Valley driveways, the answer is often yes. Block the gate before you remove load-bearing hardware.
- Replace one component at a time. Do not remove the wheel, then the hinge, then the bracket in one go. That’s how you learn that all three parts were working together to hold the gate level, and now you have a misaligned frame and no reference point to restore it.
- Record part numbers and orientations. Before you bin the old wheel or hinge, photograph it with a ruler beside it. Note the bolt diameter. The next technician, whether it’s you or us, needs this information.
- Re-tension, re-align, re-lubricate. After reassembly, check that the gate moves the full travel without binding. Lubricate the hinges with a lithium or silicone grease. Re-check after a week of use: new parts settle, and a gate that was perfectly aligned on Saturday can be slightly off by Thursday.
Here’s what safe DIY looks like in practice. A homeowner in the Big Sky neighborhood notices the gate is dragging. They inspect, find a flat-spotted wheel, photograph everything, block the gate, replace the wheel, re-align the track, photograph the result. That is real work. That is repair. That homeowner saved a service call and did it properly. The line they did not cross is the line that matters: they did not touch the operator, they did not touch the safety edge, and they left a photo record. We’d be proud to receive that call six months later for a motor issue, because the mechanical work was done in a way that doesn’t complicate our diagnosis.
Professional-Only Repairs: Control Boards, Wiring, and Safety Circuits
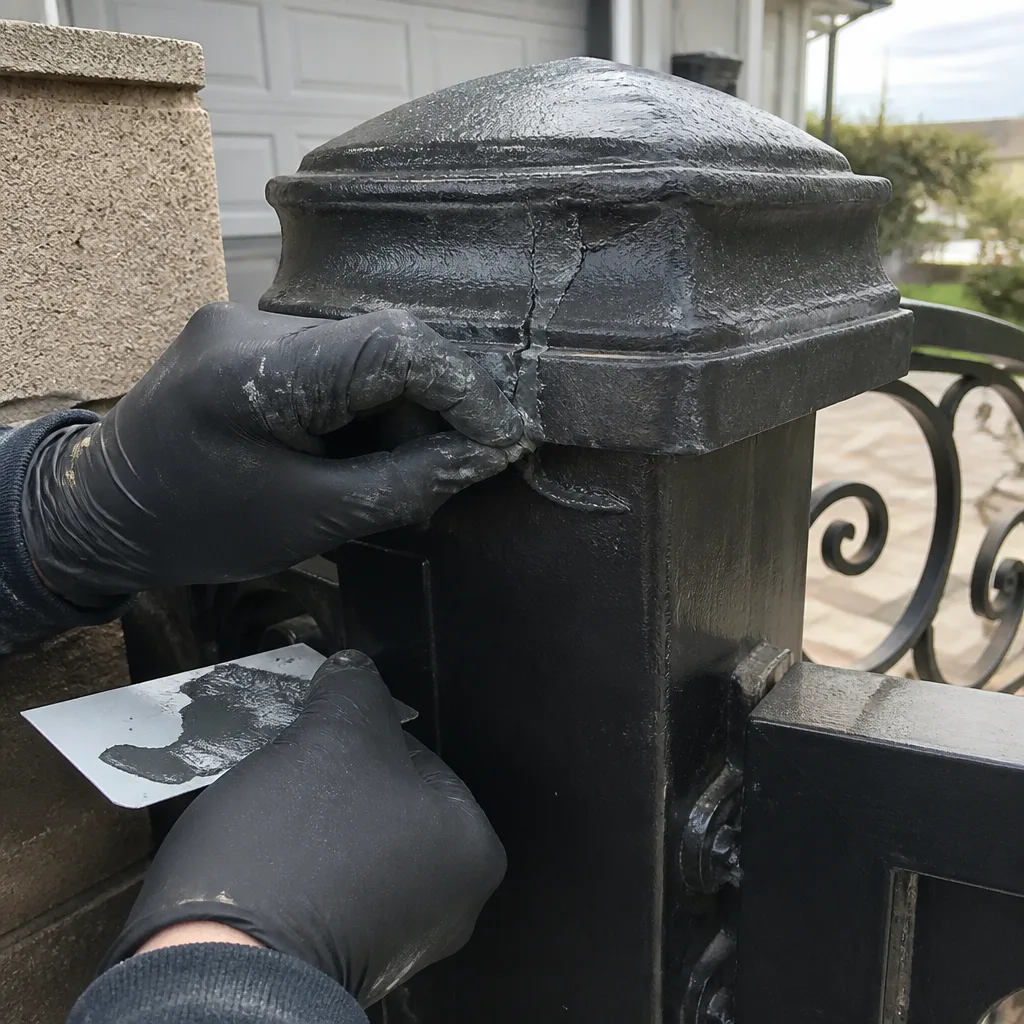
Some gate problems look mechanical but are electrical, and some look electrical but are mechanical. The art of diagnosis is knowing the difference, and that art is not transferable through a YouTube video. Here is what belongs strictly in professional hands, and the reason for each.
Control boards are the brains of the operator. A board failure can present as intermittent gate movement, failure to open, failure to close, phantom reversals, or no response to remotes. Each of those symptoms can also be caused by a wiring fault, a bad capacitor, or a limit-switch drift. Replacing the board because the symptom “matches” a forum post is a $300-$600 gamble, and if the board wasn’t the problem, you’re out the part cost and still have the same fault. A technician starts by testing, not by replacing. In our experience with DoorKing and Elite operators in Simi Valley, a large minority of “board failures” are actually wiring terminations that have vibrated loose over years of hillside wind and temperature swings.
Operator wiring runs between the motor, the control board, and the safety devices. These are low-voltage circuits, so the shock hazard is minimal, but the diagnostic hazard is high: a single corroded splice inside a water-filled conduit can cause intermittent failures that take hours to trace. We have opened junction boxes on Simi Valley properties where the homeowner’s previous DIY repair used wire nuts rated for indoor use, surface-mounted, and the corrosion had already started eating the copper. A professional weatherproofs every splice and pulls a new run when the wire is compromised. That work is unglamorous and invisible, which is why it’s so often done wrong.
Loop detectors are the sensors embedded in the driveway surface that tell the gate when a vehicle is present. They work by detecting a change in inductance when a metal mass passes over a wire loop. If the loop is cracked, water-seeping, or the detector needs recalibration, the gate will either fail to open for cars, or (worse) stay open because it thinks a phantom vehicle is present. Calibrating a loop detector requires understanding the specific detector’s sensitivity settings, which vary by brand and installation depth. This is not a wrench-and-grease job. It is an instrumentation job, and the tools for doing it correctly are not in most garages.
Safety edge circuits are the same UL 325 domain we discussed above. If the edge, the wiring, or the operator’s safety input is malfunctioning, there is no DIY path that ends well. The repair is not expensive at professional rates: a safety edge replacement typically runs $150-$300 on most Simi Valley gates. But the consequence of doing it wrong is not a stuck gate. It is a closed gate with no entrapment protection, and that is a condition no responsible company would leave behind, and no responsible homeowner should create.
The Real Cost of a DIY Repair Gone Wrong in Simi Valley
We want to be direct about what a failed DIY repair actually costs, because the usual framing (“you’ll pay more to fix it if you break it”) misses the point. It is not just the technician’s fee. It is the re-diagnosis time when no record exists of what was changed.
Here’s the arithmetic. A professional gate repair in Simi Valley typically runs $150-$400 for most mechanical and electrical faults, with motor replacements running higher depending on brand and gate size. See our Gate Repair Cost Breakdown: The Simi Valley Homeowner’s Reference for 2026 for full pricing details. If a homeowner attempts a repair, changes several variables, and then calls us, our first job is not to fix the gate. It is to figure out what the gate was before the homeowner changed it. That means testing each modification, working backward through the changes, and often undoing the repair entirely to establish a clean baseline. That re-diagnosis time adds $75-$150 to the service call in the common case, and more in the worst case. The DIY attempt has not saved the homeowner money. It has added to the bill.
But the deeper cost is the lost diagnostic information. A gate that had one problem on Monday now has three, because the homeowner adjusted the limit switch, swapped a capacitor, and rewired a photo-eye without recording the original state. We are not starting from the original fault. We are starting from a system that has been modified, and we have to reconstruct the original fault through the layers of changes. In some cases, the correct repair is to reverse the homeowner’s changes, verify the original fault is still present, and then fix it properly. That is not a criticism. It is just reality: undocumented changes compound diagnostic cost. This is why gate repair in Simi Valley should always be approached with a documentation habit, whether you’re doing it yourself or calling someone in.
Cost Comparison: Common Gate Repairs in Simi Valley
- Hinge lubrication (DIY): $15-$30 in materials, 45 minutes. Professional: $95-$150.
- Wheel replacement (DIY): $40-$90 per wheel depending on load rating. Professional: $150-$250 including alignment and track check.
- Remote battery and reprogram (DIY): $5-$15. Professional: $85-$120 if reprogramming is required.
- Safety edge replacement (DIY, not recommended): $80-$150 in parts but creates a UL 325 liability condition if incorrectly wired. Professional: $150-$300, tested and documented.
- Control board replacement (DIY, not recommended): $200-$500 in parts, risk of misdiagnosis. Professional: $350-$750 including diagnosis, installation, and verification.
- Motor replacement (DIY, not recommended): $400-$800 in parts for most major brands; professional installation $800-$1,600 for a Viking, Ghost Controls, or DoorKing operator, including safety-system re-verification.
These ranges reflect what we see across Simi Valley: flat-land tract homes in the center of the city, hillside custom lots in Wood Ranch and the Knolls, and gated communities with HOA appearance covenants. Your specific gate, grade, and operator brand will move the number, and a gate motor and opener service in Simi Valley will quote it in writing before any work starts.
Documenting Your DIY Work So a Technician Isn’t Starting From Zero
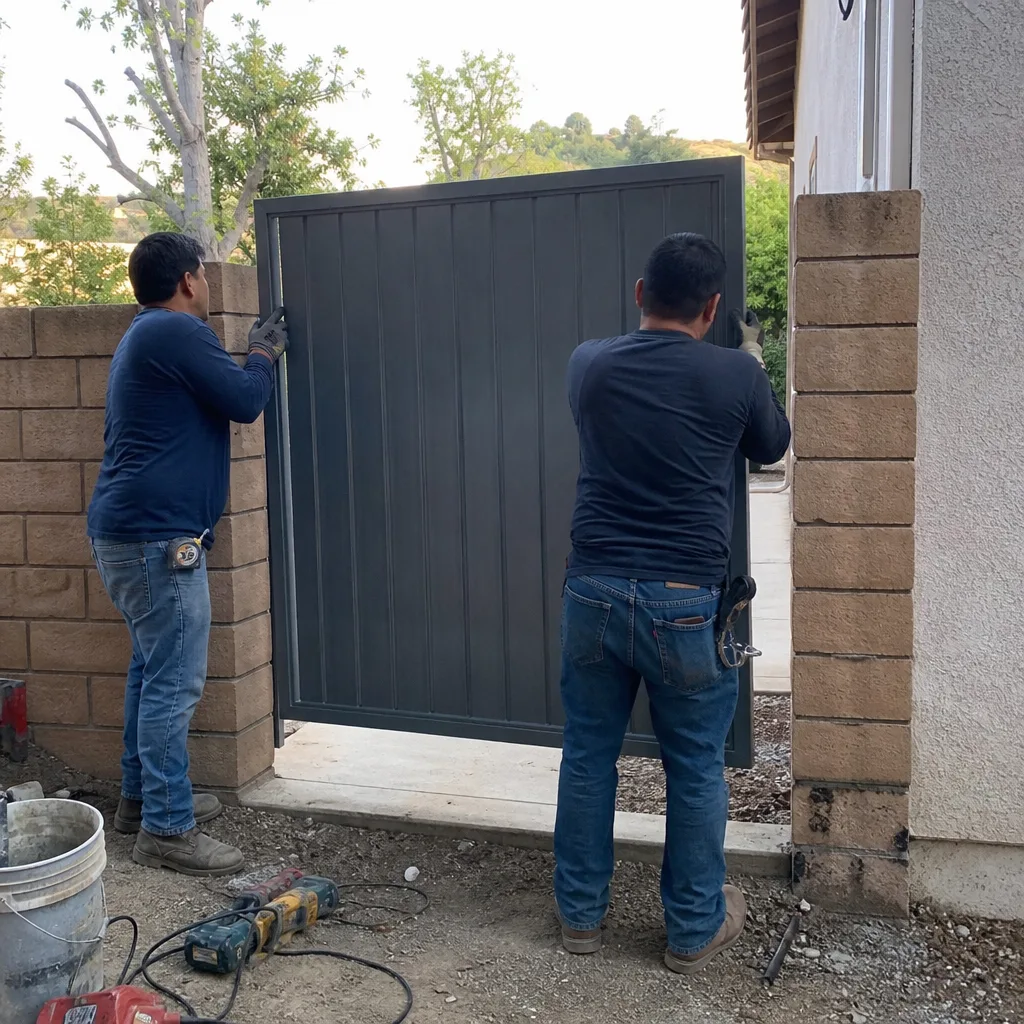
The single highest-value thing a homeowner can do before touching any part of a gate is to create a photographic record. We cannot overstate this: five clear photos taken before disassembly can save $100 or more in diagnostic time if the repair goes sideways. This is what we mean when we talk about documentation, and it is the same principle we apply on every professional visit under the Haven Standard.
Here is the minimum documentation set before you turn a single wrench:
- Wide shot of the gate, full travel. Stand back and photograph the gate closed, half-open, and fully open. This captures the as-is alignment.
- Close-up of each hinge and bracket. Include the bolt heads. These photos reveal whether brackets are bent and which direction the load was pulling.
- Close-up of the wheel and track contact point. This shows the current wheel position within the track, which you will need as a reference when re-aligning.
- The operator and wiring compartment, before you open it. If you are replacing a battery or remote, photograph the board and wiring first. If you never touch it, great. If you do, the photo is your reference.
- The safety edge and photo-eye positions. Photograph them from the angle that shows how they were originally mounted, even if you don’t plan to touch them. The next technician might need to know.
After you finish the work, repeat the same set. Now you have a before-and-after record. If the gate still misbehaves, you can hand a technician your phone and say: this is what it looked like, this is what I changed, these are the parts. That is the difference between a $150 diagnostic call and a $75 one. It is also the difference between a technician who can start fixing immediately and one who has to reverse your work first.
This is not a defensive habit. It is just good practice. We built Vance Gate Repair Simi Valley on the same principle: every visit leaves a written price and a photographed record of what was found, what was changed, and what was left behind. The homeowner who adopts that same discipline on their own DIY work will never regret the extra five minutes of photos.
Simi Valley-Specific Conditions That Shift the Decision
Simi Valley has environmental and regulatory conditions that are not present in, say, Camarillo or Thousand Oaks, and they shift the DIY calculus in subtle but real ways. We work these gates every week, so we can tell you what we see.
Hillside and grade-load complications. Homes in the Santa Susana Knolls, along Erringer Road’s hill sections, and in the canyons off Madera Road are frequently built on slopes where the driveway approaches the gate at an angle. The gate then operates against gravity in one direction and with gravity in the other. A wheel that would last eight years on flat land lasts four on a hillside. A hinge that would be fine with a standard-duty bracket needs a heavier bracket on a slope. DIY repair manuals don’t account for these conditions, and a homeowner who follows a flat-ground tutorial on a hillside gate will be re-doing the repair within a season.
HOA-governed gates with appearance requirements. Much of Simi Valley’s newer housing stock, from Big Sky to Wood Ranch to the communities along the 118 corridor, sits in HOAs with written appearance standards for front-facing gates. A homeowner who replaces a black iron hinge with the “equivalent” galvanized steel part may receive an HOA notice three months later because the finish doesn’t match the original. We have had to re-do homeowner repairs in several Simi Valley HOA communities specifically for appearance non-compliance. Before you replace any visible hardware, check your HOA’s gate standards. If they specify a finish or a vendor, that’s the deciding factor.
Older operators with parts substitution challenges. Simi Valley has a significant stock of gates installed during the 2000s housing boom. Many of those operators, particularly older Viking and ELITE models, are still in service but no longer have original parts readily available. A homeowner who opens the operator and finds a dead capacitor will be tempted to substitute a “close enough” capacitor from an electronics store. The problem: substituting components on a logic-controlled operator can cause voltage irregularities that fry the board or throw off the safety device circuits. Professional repair on older operators uses either verified OEM parts or documented, tested substitutes from the commercial supply chain. This is not a hardware-store solution.
Wind and temperature swings. Simi Valley sees temperature swings of 40+ degrees through an average year, plus the wind that funnels through the Santa Susana Pass. These conditions cause expansion and contraction at gate joints, which loosens bolts, shifts track alignment, and stresses wiring terminations. That’s not a reason to avoid DIY mechanical work, but it is a reason to check your gate more often than a general guide would suggest. We recommend a full visual inspection every six months for Simi Valley gates, more often for hillside homes.
Common Mistakes to Avoid
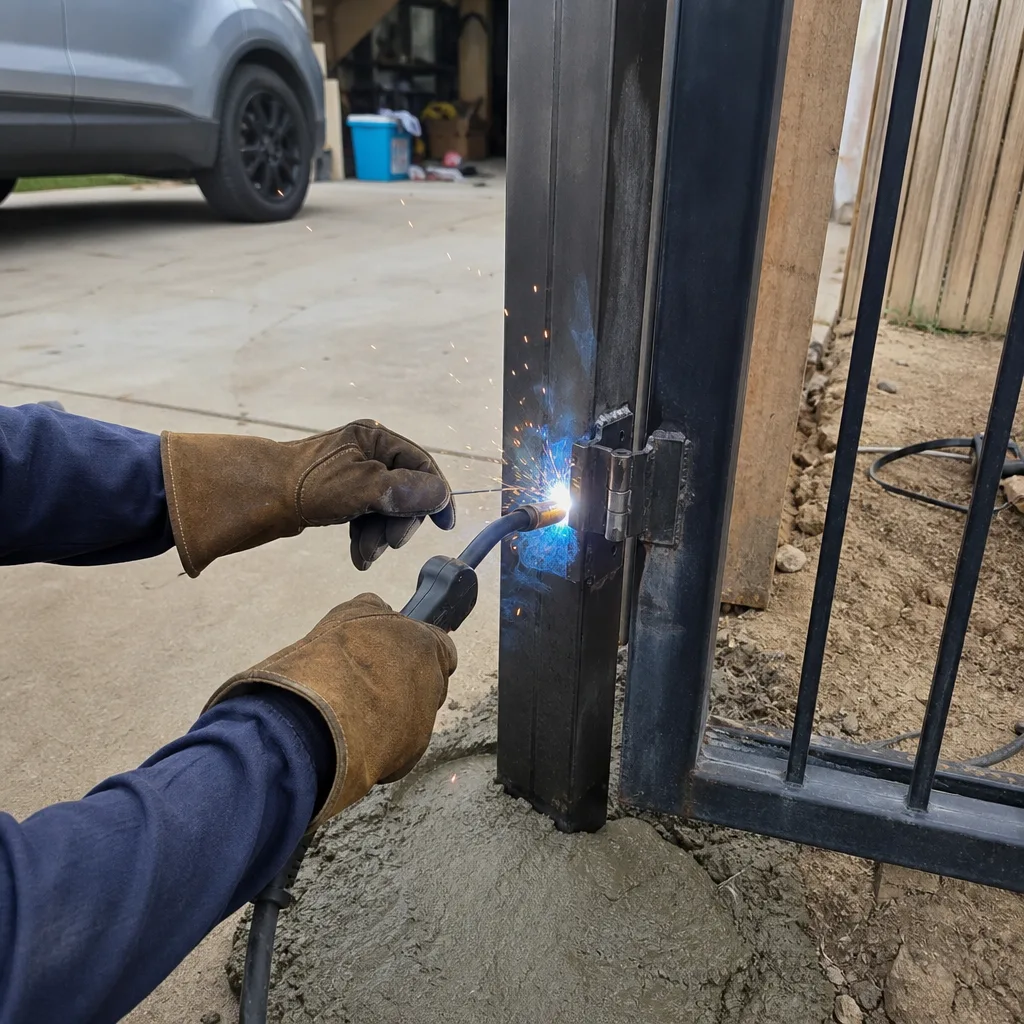
- Adjusting the limit switch to “fix” a gate that’s drifting out of alignment. The limit switch isn’t the problem. The misalignment is. Moving the limit to compensate transfers the fault to the motor and can strip gear teeth over time. Fix the alignment first.
- Bypassing the safety edge or photo-eye to get the gate working. We addressed this above, and it bears repeating because the temptation is so strong. You have not repaired anything. You have created a UL 325 liability condition that transfers legal responsibility to you.
- Replacing a motor without measuring the gate weight and duty cycle. A motor rated for a 400-pound residential gate will fail in six months on a 700-pound custom iron gate. Homeowners frequently replace a burned-out operator with a cheaper, lighter-duty unit, not understanding that the original motor was spec’d for the gate’s actual weight. On Simi Valley hillside properties with oversize gates, this is a recurring failure we see on service calls.
- Using indoor wire nuts on outdoor low-voltage connections. We see this constantly. The wire nuts corrode within a year, causing intermittent faults that are maddeningly hard to trace. Use marine-grade heat-shrink connectors or junction boxes rated for outdoor exposure.
- Draining the operator’s battery without recharging setup. On solar-powered operators, common in Simi Valley’s more remote hillside lots, replacing the battery without setting the charge profile can damage the new battery within months. The operator’s manual has specific battery-type programming steps. Follow them exactly.
- Ignoring the chain or belt tension after a hinge repair. When you change the gate’s geometry by adjusting a hinge or wheel, the chain tension changes too. A gate that worked fine for a week and then started shrieking did not fail randomly. It failed because the tension was never re-checked after the geometry changed.
- Not checking HOA requirements before visible hardware replacement. In Simi Valley’s HOA communities, the cost of a redo for finish non-compliance is 100% avoidable with a five-minute phone call before you buy the part.
When to Call a Professional
If the fault is in the control board, the operator wiring, the loop detector, or the safety device circuit, the DIY decision is already made: call a professional. If the gate is on a Simi Valley hillside with grade-load complications, the structural math changes and a pro-grade assessment is worth the visit. If your HOA has appearance standards, the cost of a wrong finish outweighs any savings. If you have already attempted a repair and the gate is now behaving worse than before, stop, photograph everything, and call. The longer that condition persists, the more diagnostic information is lost. Gate installation in Simi Valley and major repair work on safety circuits should always involve a written scope and a written price before any work starts. That’s not asking for special treatment. It’s the minimum standard.
Vance Gate Repair Simi Valley offers free estimates in Simi Valley with a written price before any work begins. Call (805) 516-0479 and a live person will answer, day or night.
Frequently Asked Questions
Most gate repairs in Simi Valley run between $150 and $400 for mechanical and electrical faults. Motor replacements run $800 to $1,600 depending on brand and gate weight. The major variable is fault category: a hinge lubrication is under $150; a safety-edge replacement with proper testing is $150 to $300; a board replacement with diagnosis is $350 to $750. Call (805) 516-0479 for a written quote before any work starts, the same way we quote every job.
You can replace a dead remote battery. You should not attempt to repair the motor, control board, or the wiring between them. Gate operators are logic-controlled safety systems, and an incorrect part substitution or a miswired connection can cause the gate to behave unpredictably, including failing to stop when something is in its path. If the motor or board is suspect, a professional diagnosis costs less than a wrong-part gamble.
UL 325 is the national safety standard that governs automatic gate operators, including in California and Simi Valley. It requires entrapment protection devices, such as photo-eyes and safety edges, and specifies how those devices must be installed and tested. Modifying or bypassing these devices is a liability condition, and California courts treat such modifications as evidence of negligence in personal-injury cases.
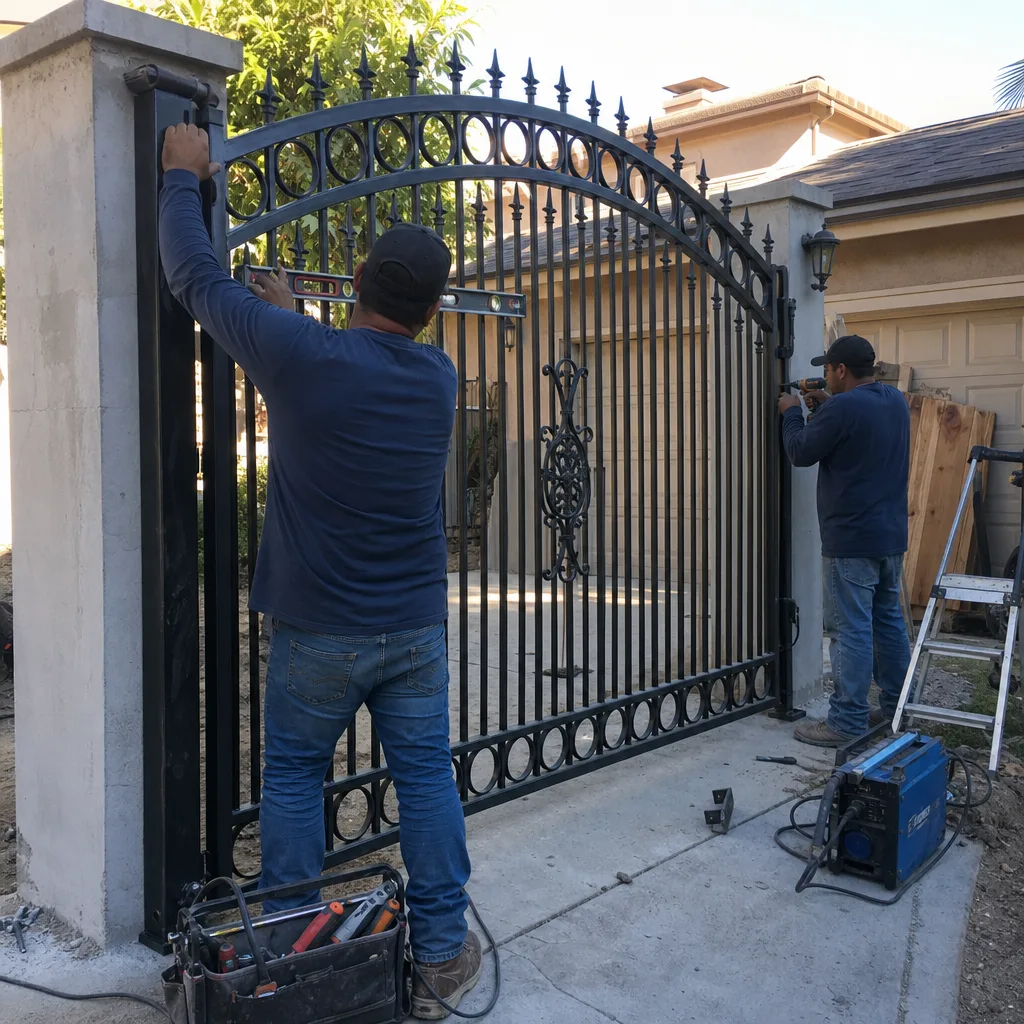
A full installation includes the gate structure, hinges, operator, safety devices, and the electrical or solar power run. In Simi Valley, installations on sloped lots also include a load-path assessment to ensure the gate doesn’t bind or warp against gravity. Before any work starts, you should receive a written scope with the exact gate dimensions, operator model, safety device list, and a flat price. A gate installation quote from Vance Gate Repair Simi Valley includes all of that.
Yes. Every installation and repair includes proper power termination or solar setup, and every safety device is tested before the gate is returned to service. We photograph the final positions and send the record home with the customer, so nothing is left undocumented. Call (805) 516-0479 for a written estimate.
Yes, for urgent repair situations. A live person answers the phone 24/7, and we dispatch technicians across Simi Valley daily. If the gate is stuck open and creating a security exposure, or stuck closed and trapping vehicles, that qualifies as an emergency repair and we will tell you the dispatch time honestly when you call.
The Bottom Line
The DIY-versus-professional decision for gate repair in Simi Valley is not about how capable you are. It is about what broke. Mechanical hardware work, hubs, wheels, tracks, hinges, is fair game for a careful homeowner who documents before touching and checks the load path before disassembly. But safety devices, control boards, operator wiring, and loop detectors are off limits for DIY work, period. The UL 325 safety standard exists because gates kill people, and bypassing a safety circuit to save a service call is a decision with legal and human consequences that no amount of handiness can justify. When in doubt, call. The written quote is free, the documentation is included, and the gate will be safe when the work is done. Explore more guides & resources on our blog.
If you’re facing a gate problem in Simi Valley and you’re not sure which category it falls into, call us at (805) 516-0479. We’ll talk through it with you, and if a visit is needed, you’ll get a written price before any work starts.
Written by Adrian Vance, Owner at Vance Gate Repair Simi Valley, serving Simi Valley since 2014.