
Last updated September 20, 2026
Free on-site gate assessment - hinges, posts, and your LiftMaster or Nice gate operator checked before anything is quoted
The assessment is free and the quote is the invoice.

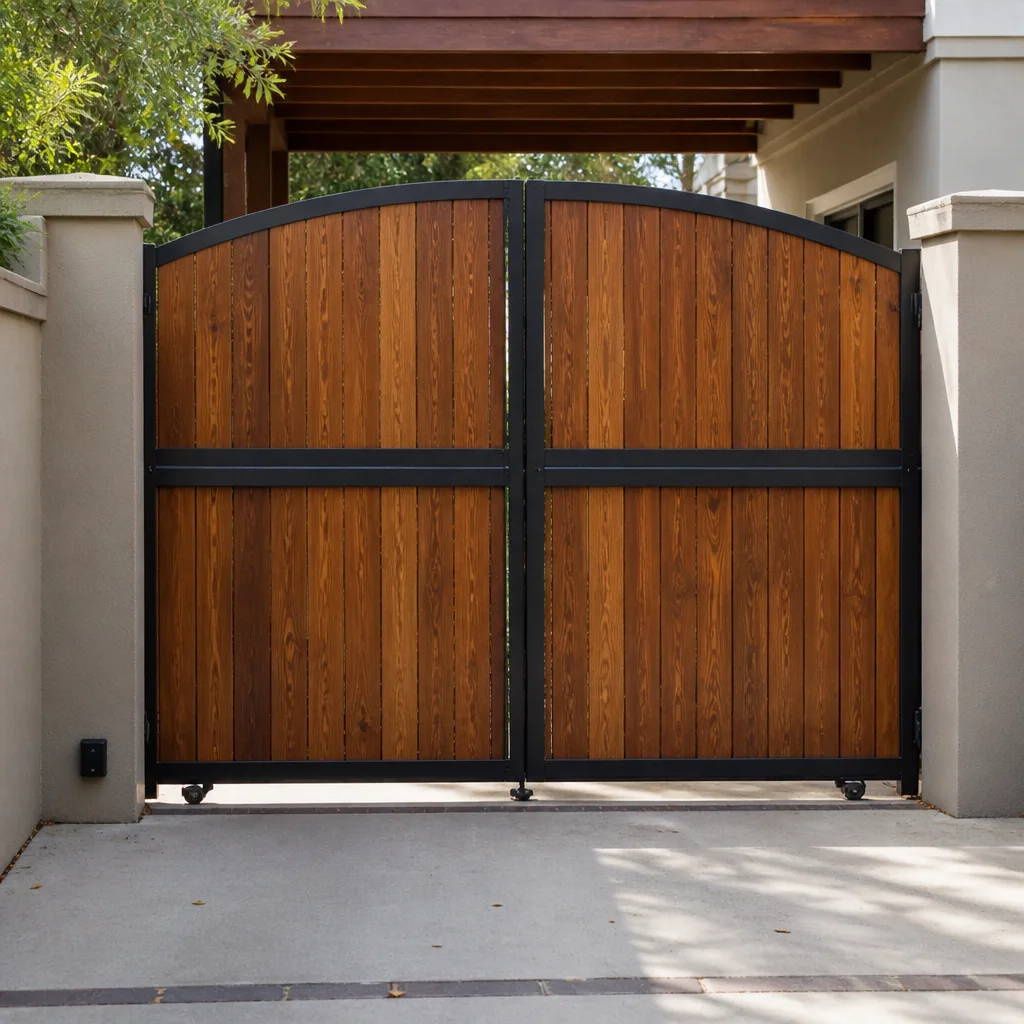
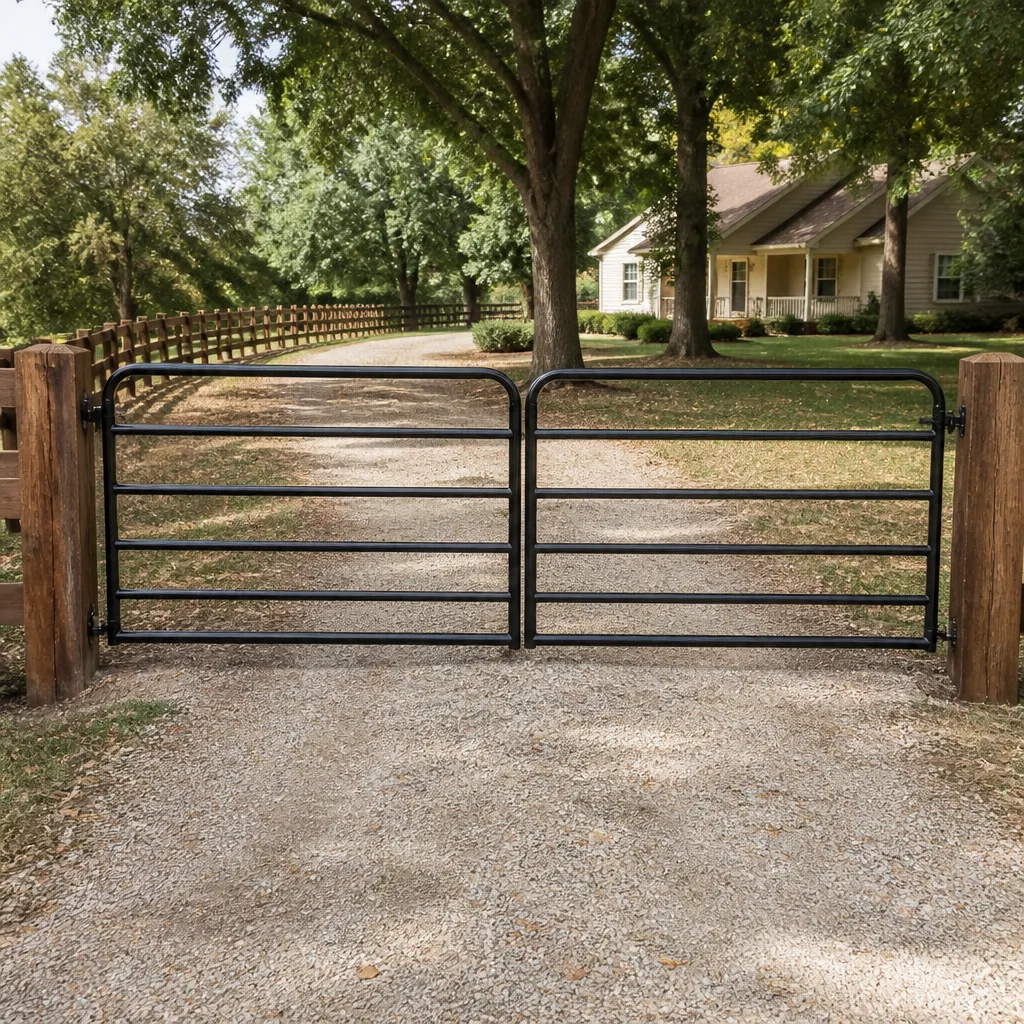
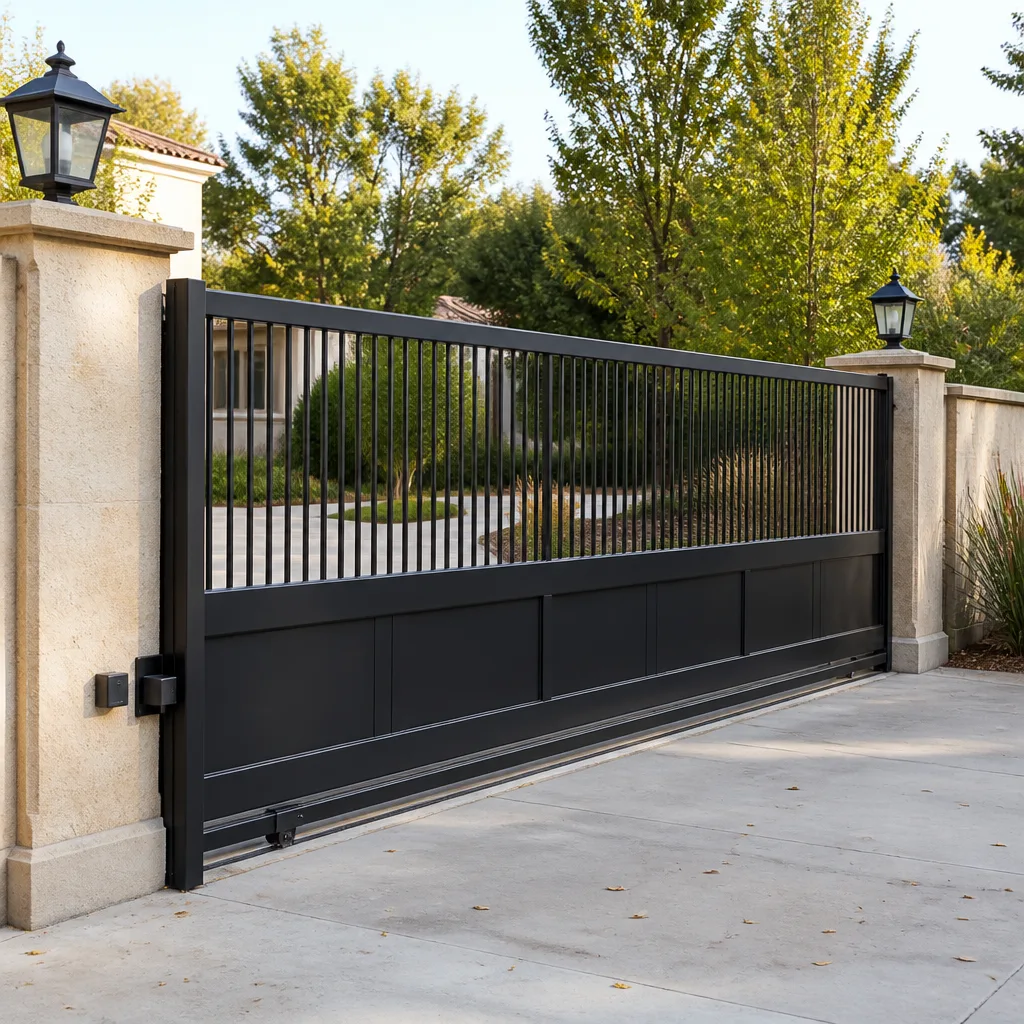
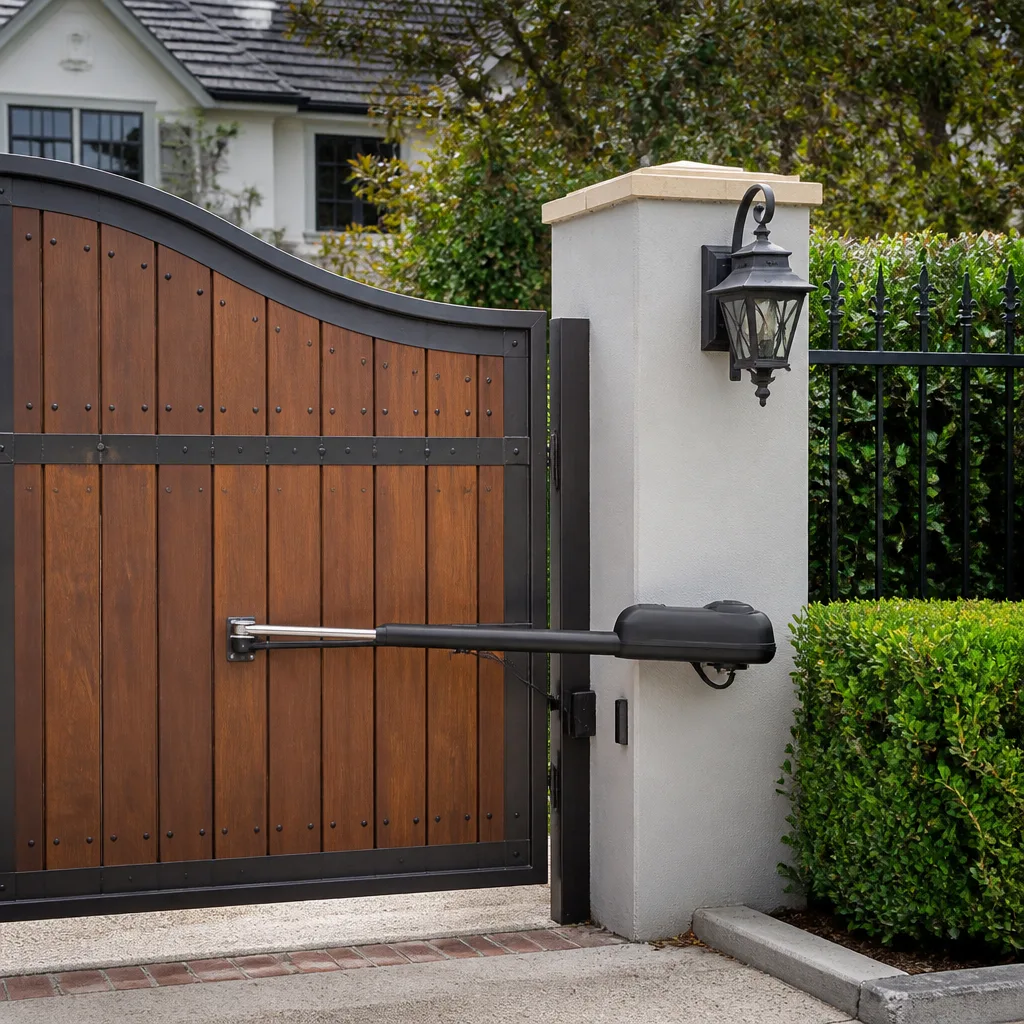
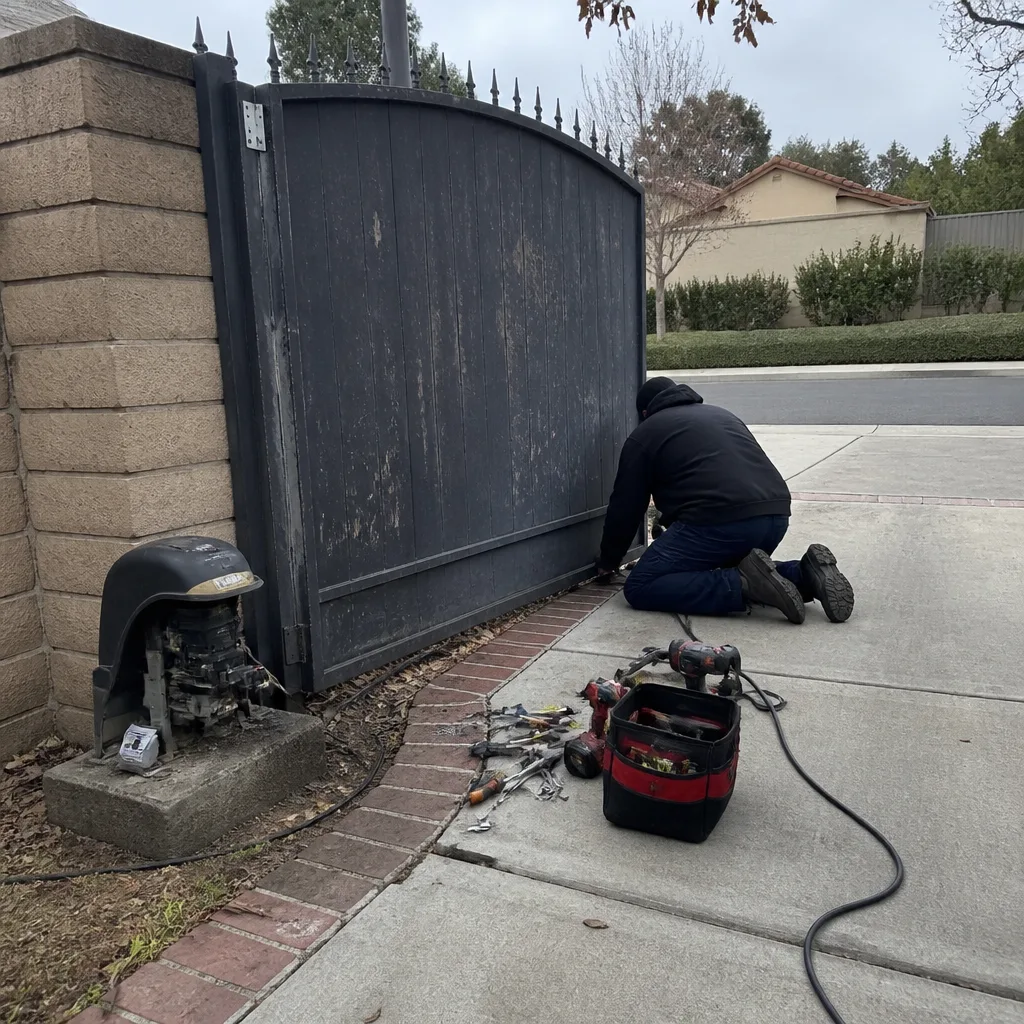 Before
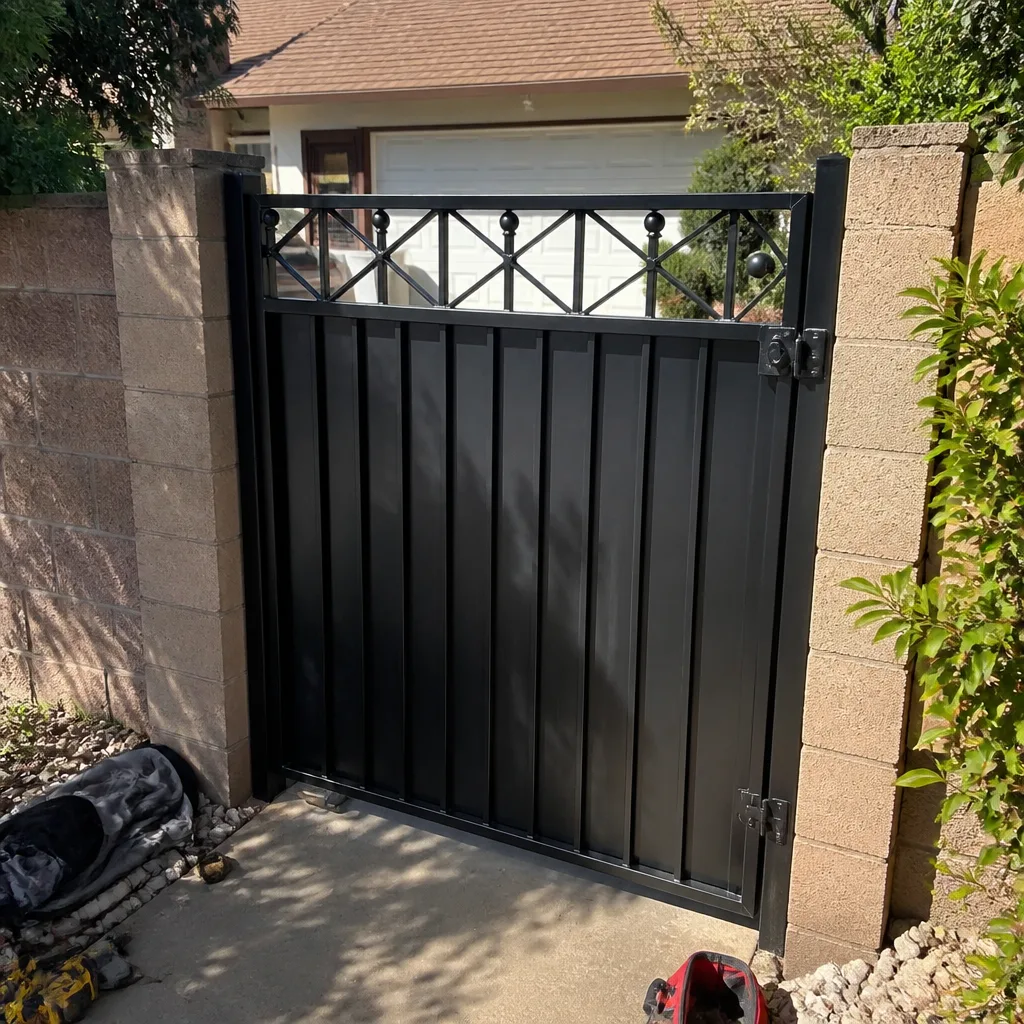 After
After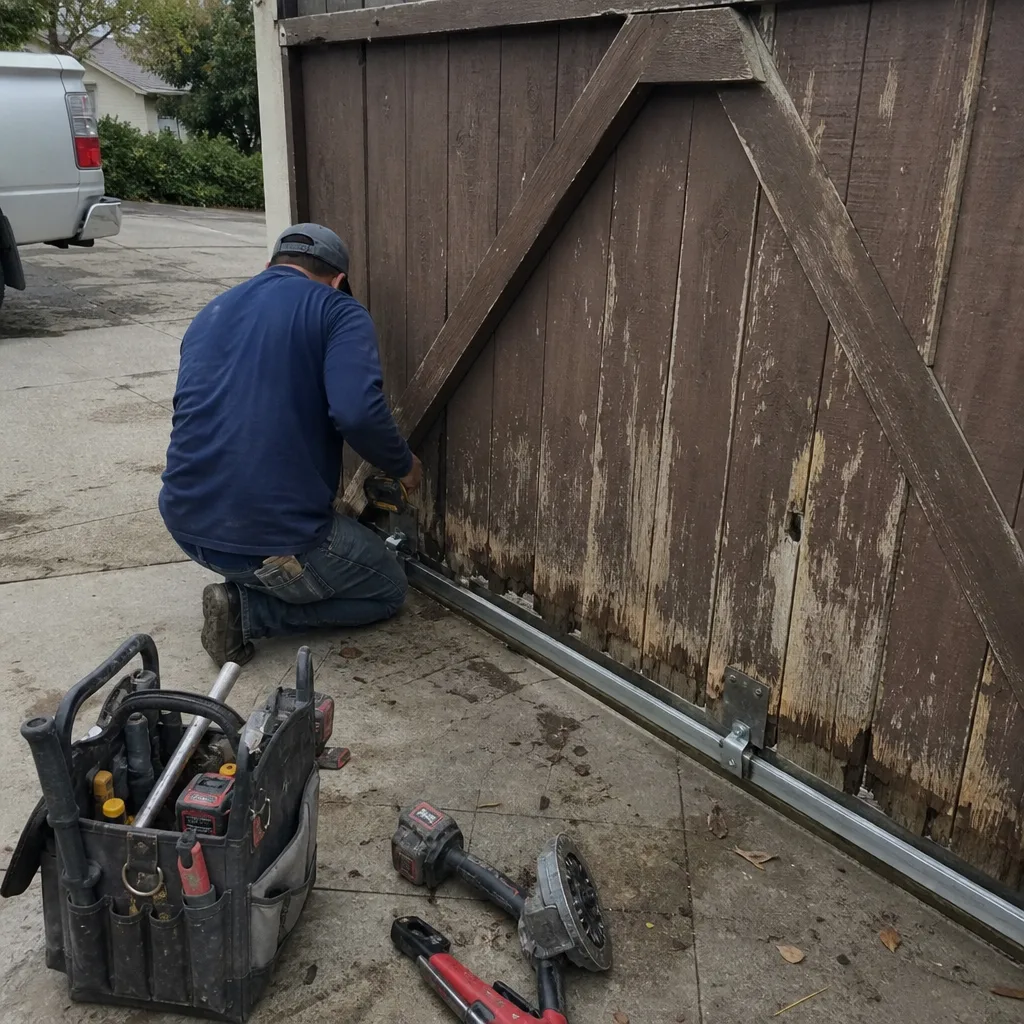 Before
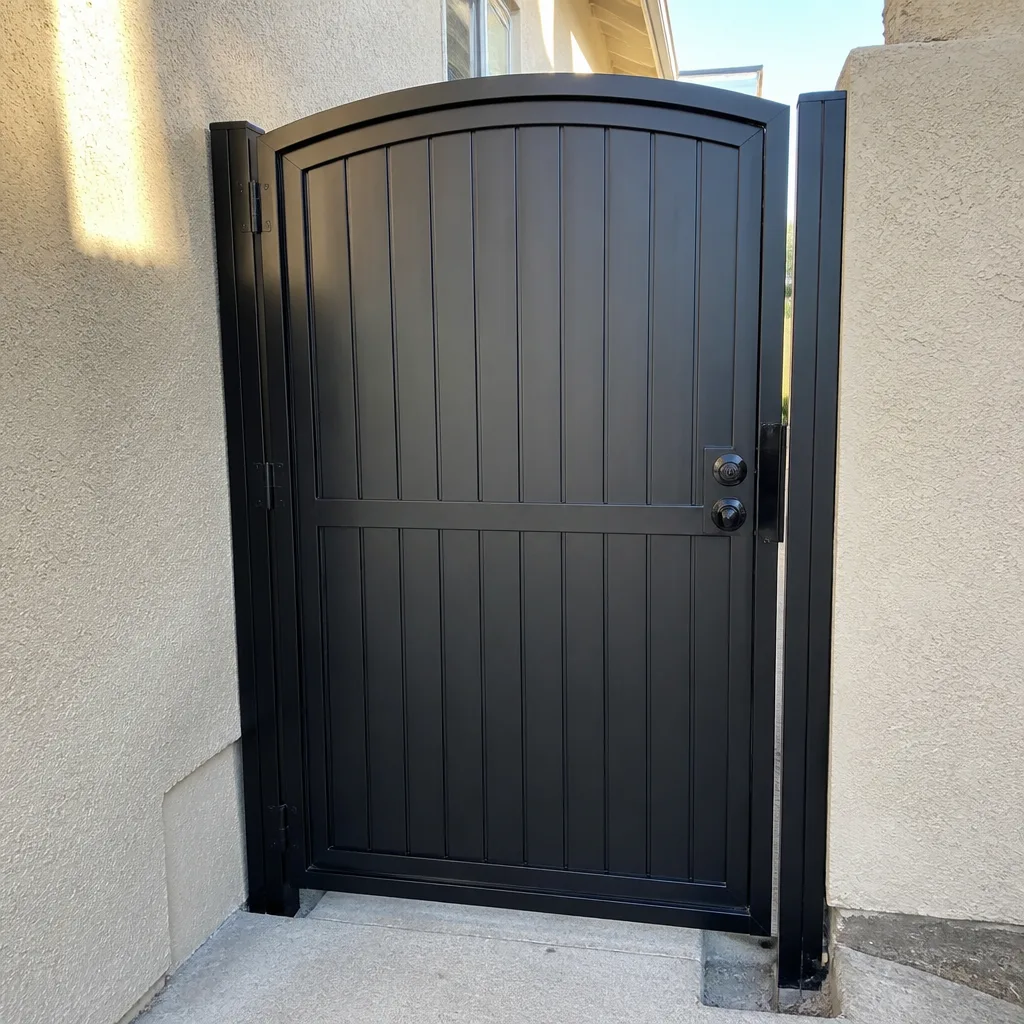 After
After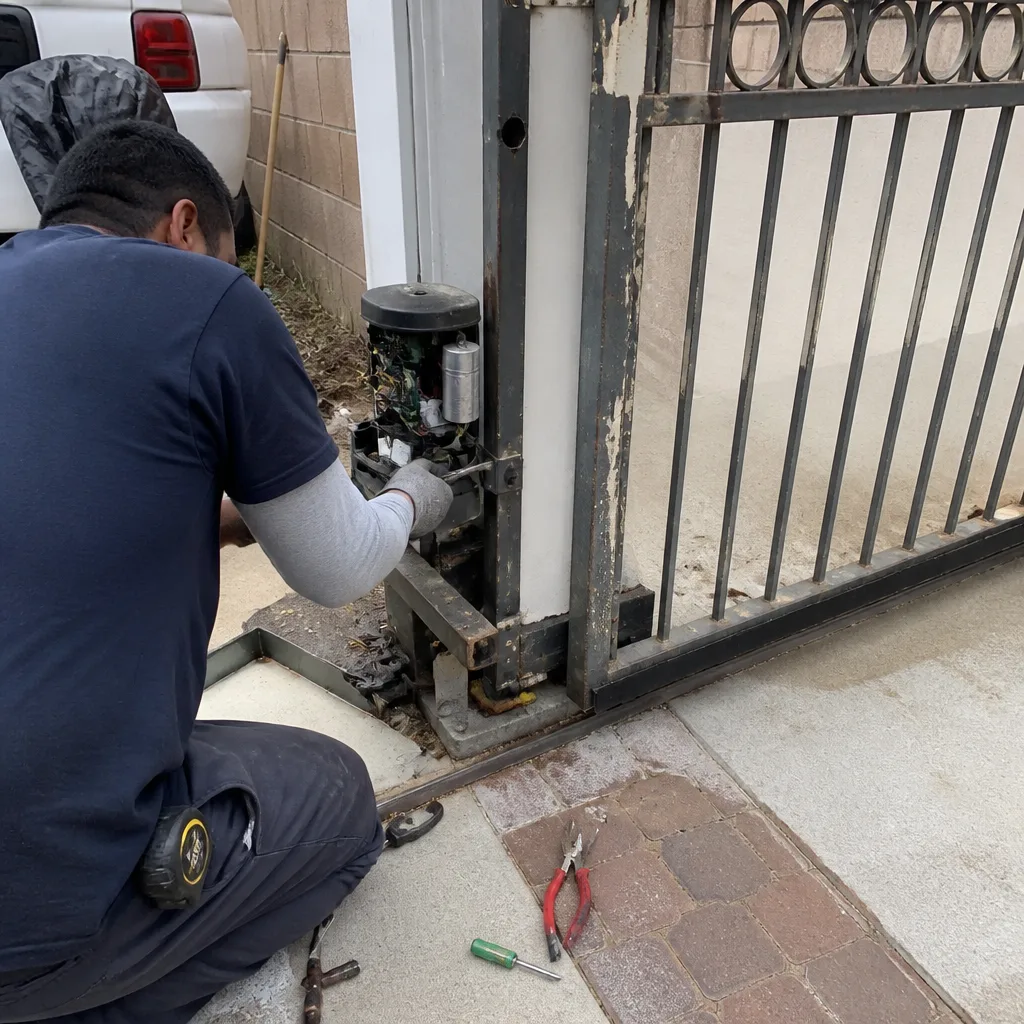 Before
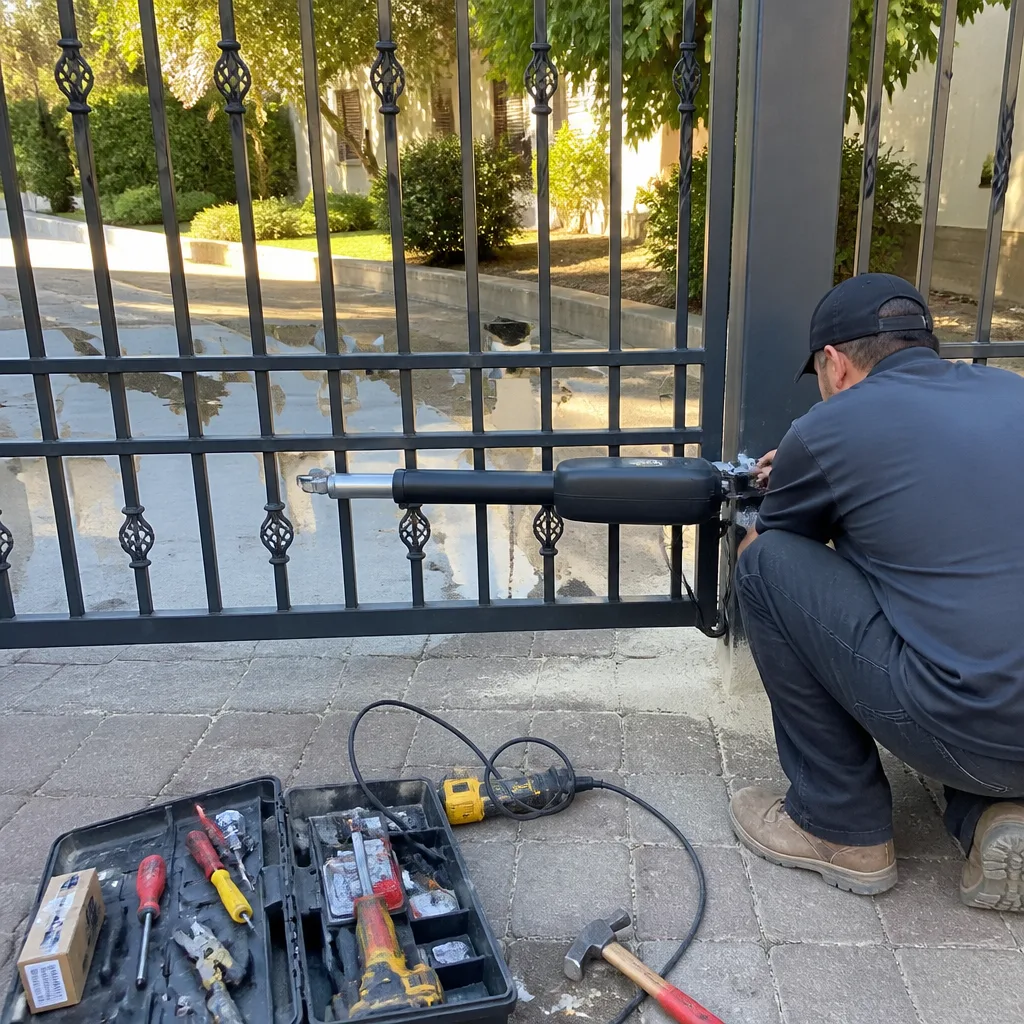 After
AfterGate Repair Maintenance Checklist for Simi Valley Homeowners
Every gate maintenance checklist published online tells you to “check the gate balance” or “inspect the hinges.” Almost none of them tell you what a passing result actually looks like. A properly balanced swing gate, for instance, should hold its position within 6 inches of any point you release it. Without that threshold, you’re checking boxes without knowing whether you passed or failed. This guide and our more guides & resources fix that. You’ll learn observable pass/fail criteria for every inspection item, which tasks are safe for a homeowner in Simi Valley, which ones cross into warranty-voiding territory, and how to build a dated maintenance log that a future technician can actually use.
Quick Answer
A useful gate maintenance checklist for Simi Valley homeowners covers six areas: balance and travel, hinge and wheel wear, operator function, safety devices, hardware torque, and weather-related degradation specific to this valley’s dust and UV exposure. Each item needs a measurable pass/fail threshold, not just a task name. Most homeowners should inspect monthly during summer and every other month during cooler seasons, and they should document every check with a dated photo log.
Table of Contents
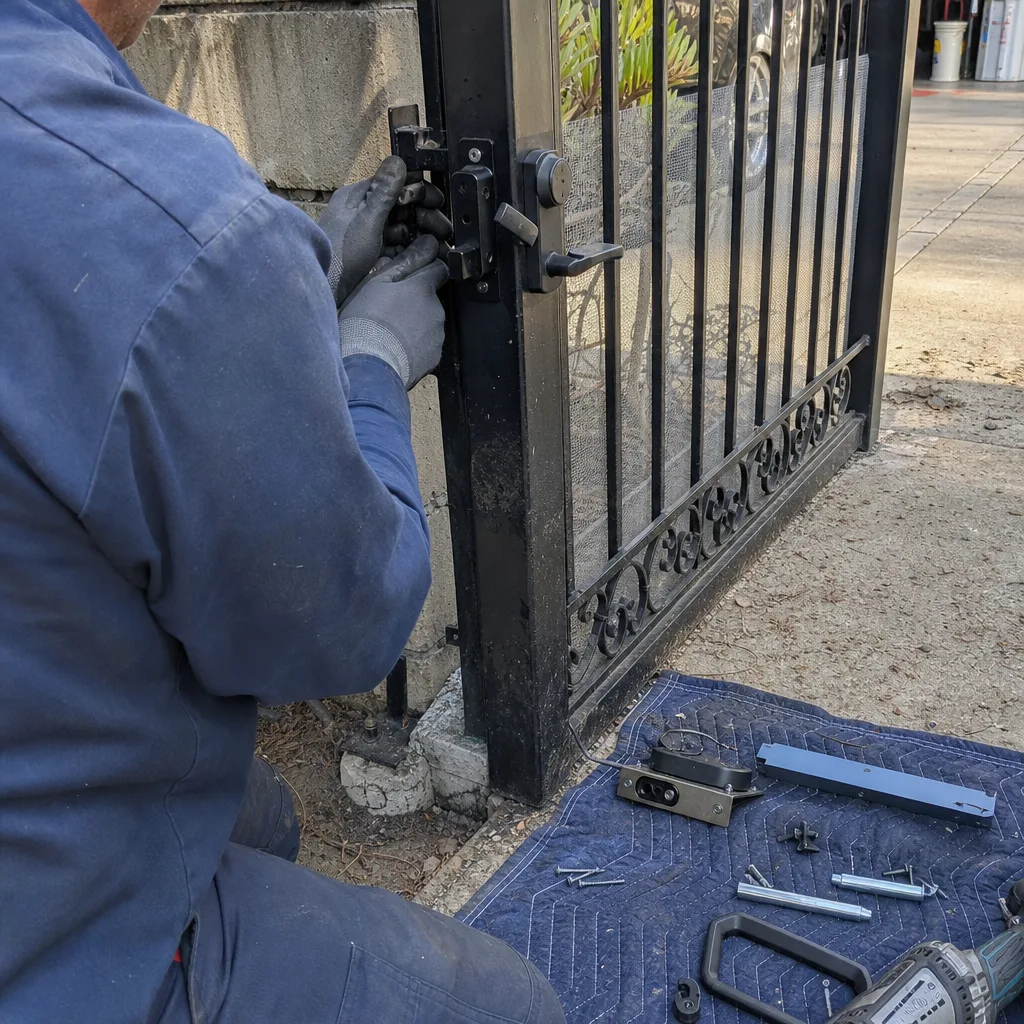
- What You Need Before You Start
- Gate Balance and Travel: The Six-Inch Test
- Hinges and Wheels: What Wear Actually Looks Like
- Operator and Motor Inspection: Listen, Watch, Measure
- Safety Devices: Photo-Eyes, Edges, and the Obstruction Test
- Simi Valley-Specific Wear: UV, Dust, and Heat Drift
- Building a Dated Maintenance Log That Technicians Can Use
- What’s Safe for Homeowners vs. What Requires a Pro
BeforeAfterWhat You Need Before You Start
You don’t need a mechanic’s shop to perform a meaningful gate inspection. But you do need a few specific items, and skipping them turns a real inspection into a guess. Here’s what we recommend keeping in a small kit near the gate or in the garage:
- A tape measure. You’ll use it for play measurements, clearance checks, and the balance test described below. A cheap 12-foot tape works fine.
- A level. A 24-inch bubble level is enough. You’re checking that posts and gate frames haven’t shifted out of plumb.
- A flashlight. For looking inside the operator housing and under the gate. Midday sun in Simi Valley makes shadows deep, and a flashlight helps you see cracks and dust accumulation that direct sunlight obscures.
- Your phone camera. Not for social media. For the maintenance log. Photos are the only way to prove what “normal” looked like before something changed.
- A notepad or notes app. Record date, measurements, and anything that deviates from your baseline.
- Rags and a degreaser. For cleaning hinges, tracks, and operator vents. Nothing fancy; simple degreaser and cotton rags do it.
If your gate uses a slide track, add a small wire brush to clean debris from the track channel. Gravel, sand, and wind-blown plant material accumulate faster in Simi Valley than most homeowners expect, especially after Santa Ana wind events.
Gate Balance and Travel: The Six-Inch Test
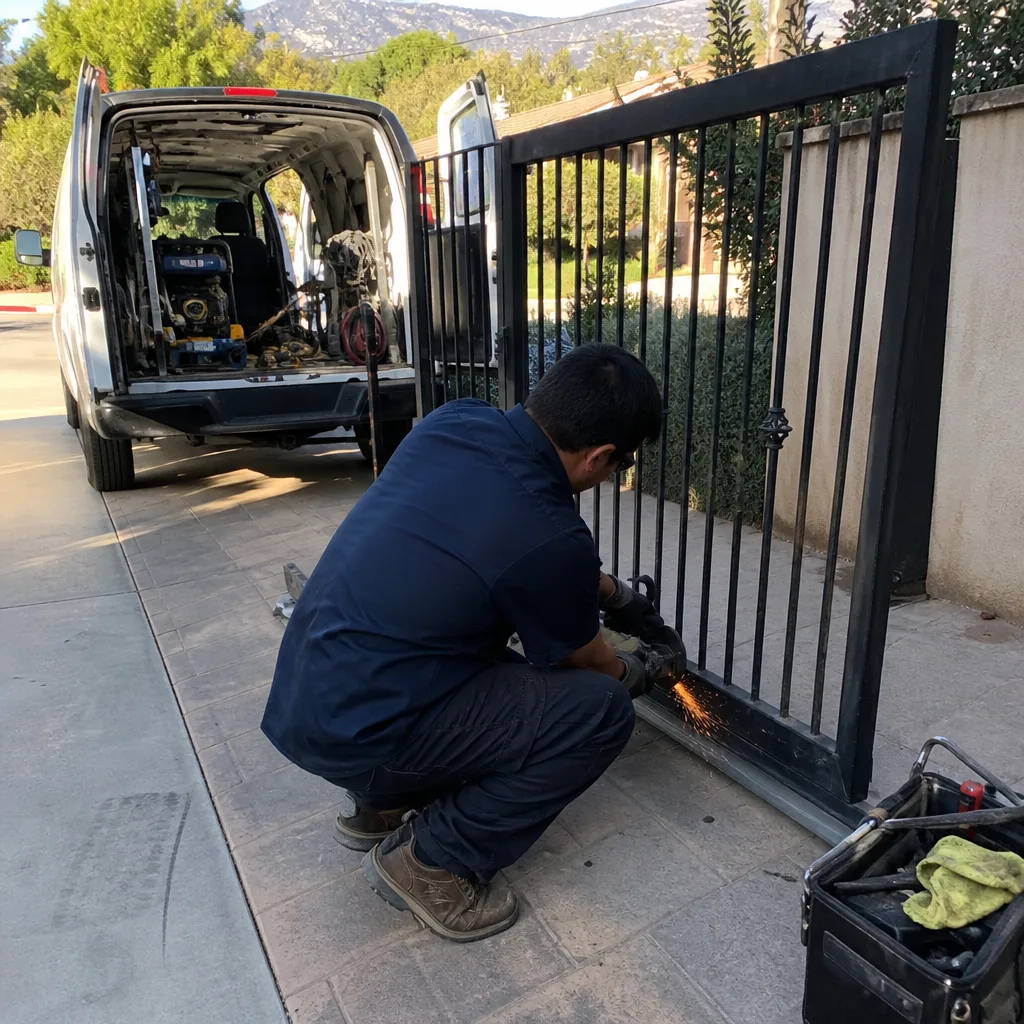
Balance is the single most predictive indicator of future gate failure. An unbalanced gate forces the operator motor to work harder on every cycle, which shortens motor life, overheats capacitors, and accelerates limit-switch drift. Here’s the test that most checklists skip:
- Release the gate from the operator. Most operators have a manual release handle or key. Pull it so the gate moves freely by hand.
- Move the gate to the midpoint of its travel. Roughly halfway open.
- Let go. A properly balanced swing gate should hold its position within 6 inches of where you released it. It should not drift open or closed on its own.
- Repeat at three points. One-third open, half open, and two-thirds open. At each release point, the gate should stay put or move no more than 6 inches.
- Note the result. Write down how far it drifted at each point, and photograph the gate position before and after release.
If your gate drifts more than 6 inches at any release point, the balance is off. Common causes include a hinge that has settled, a post that has shifted, a bent gate leaf, or a wind load pushing the gate. In Simi Valley, we regularly see south-facing gates that develop balance problems after several summers of thermal expansion and contraction on steel frames. The heat here isn’t a dramatic event like a freeze-thaw cycle; it’s a slow, cumulative torque on every bolted connection.
A gate that fails the six-inch test needs attention before the operator motor does all the compensating work, burns out, and leaves you with a dead gate and a larger repair bill. For a deeper look at what this repair involves, see our guide on Gate Repair in Simi Valley.
Hinges and Wheels: What Wear Actually Looks Like
Hinges and wheels are the gate’s load-bearing joints. When they wear, every other component absorbs the stress. Here’s what to check and the specific thresholds that separate normal from failing:
- Lateral play. Grab the gate leaf and push it side to side, perpendicular to its travel direction. Movement at the hinge should not exceed 1/8 inch. More than that indicates a worn hinge pin, an egged-out hinge barrel, or a loose mounting bolt. Document the measurement; a technician will want to know it.
- Audible grinding. A hinge should move quietly. If you hear grinding, clicking, or rough scraping during operation, the hinge surfaces have lost their lubrication or have begun to gall. Lubricate first. If the sound persists after lubrication, the hinge is past the point of simple maintenance.
- Sag. With the gate closed, run your eye along the top edge. It should be level with the fixed post or adjacent fence line. A sag of more than 1/2 inch at the nose of the gate means the post, the hinge, or the gate frame itself has moved. Sag is a structural issue, not a lubrication issue.
- Slide-gate wheel wear. For slide gates, inspect the support wheels and guide rollers. A healthy wheel rolls smoothly with the gate; a worn wheel slides or skips. Look for flat spots on the wheel surface and for a visible gap between the wheel and the rail. If a wheel spins freely without contacting the rail at any point in travel, the gate weight is no longer evenly distributed, and the remaining wheels are overloading.
- Track debris. In Simi Valley, dust and fine silt are the enemy of slide-gate tracks. Sweep or blow out the track channel every inspection. Pay special attention to the end stops, where debris naturally collects and hardens into a compacted wedge that forces the gate off its limit position.
Lubricate hinges and wheels with a dry-film or silicone-based lubricant, not a heavy grease. Heavy grease attracts dust, which in this valley means you’ll be replacing what you lubricated within a season. Apply sparingly, wipe off excess, and photograph the result for your log.
Operator and Motor Inspection: Listen, Watch, Measure
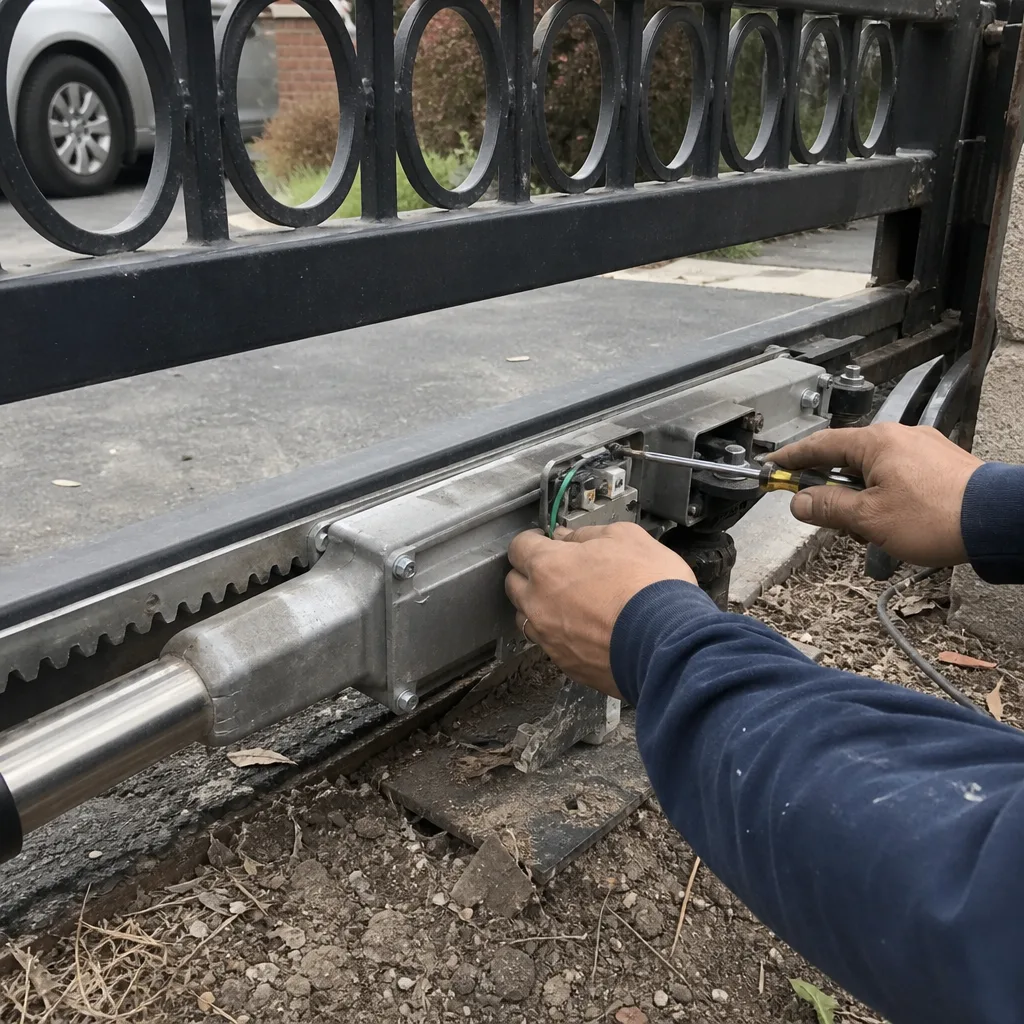
The operator, which is the motor and control board assembly that drives the gate, fails in predictable ways. Most failures are preceded by observable changes in sound, speed, or stopping position. Here’s how to catch them before they become a dead gate:
- Listen during a full cycle. A healthy operator makes a smooth, consistent hum. A struggling operator sounds labored, labors through the midpoint, or changes pitch. Any new ticking, rattling, or grinding from the operator housing should be investigated the same week you hear it.
- Watch travel speed. The gate should move at a steady, consistent speed from fully open to fully closed. Slowing midway, hesitating, or surging indicates a motor or capacitor issue, an obstruction in the travel path, or a binding point in the gate itself. Note where in the travel cycle the speed changes; that information helps a technician narrow the diagnosis quickly.
- Check the stopping position. After a full cycle, the gate should stop at the exact same open and closed positions it always has. If it stops an inch short or overshoots by an inch, the limit switch has drifted. Limit-switch drift is one of the most common issues we see in Simi Valley, particularly on south-facing installations where direct summer heat causes the limit hardware to expand and settle at slightly different positions.
- Inspect the housing and vents. Cracks in the operator housing let in dust and moisture. In Simi Valley, fine dust is the bigger issue; it coats internal components and interferes with limit-switch contacts and connectors. Check the vent openings for dust caking, and gently clear them with a soft brush or vacuum if blocked.
- Note any electrical odor. A burned or hot-plastic smell from the operator housing means an overheating component. Stop using the gate and call someone. This is not a maintenance item; it’s an electrical fault.
- Photo-eye alignment test. A photo-eye is the infrared beam across the gate opening that stops the gate if something breaks the beam. Look at the photo-eye units mounted near the gate path. They should face each other directly, with no visible misalignment. Many units have an indicator light that illuminates when the beam is aligned. If the light is off or blinking, the eye is misaligned, dirty, or failed.
- Obstruction test. While the gate is closing, place a solid object (a trash can, a piece of wood) in the closing path. The gate should reverse or stop before making forceful contact. Run this test once a month. If the gate hits the object with any force, the safety input is not functioning and the gate should not be operated until repaired.
- Safety edge check. If your gate has a rubber safety edge (the pressure-sensitive strip on the leading edge of the gate), press along its full length. It should depress and return smoothly. Look for cracks, cuts, or areas where the rubber has hardened. A damaged safety edge can fail silently; the gate will keep closing when it should have reversed.
- Manual release test. Every operator must have a manual release that disengages the gate from the motor so it can be opened by hand in an emergency. Test it quarterly. The release should operate smoothly without tools. If you need to force it, lubricate the mechanism, and if it still binds, call a professional.
- UV degradation on control board housings. Simi Valley averages over 270 days of sunshine per year, and that UV load degrades the plastic housings that protect control boards. Check for chalky, faded, or brittle plastic on the operator box and any external junction boxes. A housing that has lost its color is also losing its structural integrity. Replace housings before they crack and let dust or moisture reach the board.
- Dust infiltration in operator vents. The valley’s dry climate and wind events push fine silt and dust into every opening. Operator vent screens clog, which reduces airflow, which causes the board and motor to run hotter. Check vent screens every inspection during summer months. A clogged vent looks gray or tan instead of black mesh-colored. Clean it gently with a soft brush or low-pressure air.
- Heat-related limit-switch drift in south-facing installations. Gates on the south side of a home, with no shade structure, absorb direct afternoon heat. That heat expands the metal, and limit switches, which are mechanical stops, settle at slightly different positions over repeated thermal cycles. If your gate stops inconsistently at different points across a single week, and you’ve ruled out obstruction and balance issues, it’s likely heat-related drift. A technician can reset and secure the limit position.
- Vegetation growth and clearance. Simi Valley’s dry summers and wet winters create two growing seasons for the shrubs and trees that crowd gate paths. Check clearance every inspection. Foliage that touches the gate during travel drags on the operator and can trigger false obstruction reversals. Maintain at least 6 inches of clearance on all sides of the gate’s travel path.
- Santana wind loading. Santa Ana wind events, common in the fall, push swing gates sideways and stress hinges, posts, and latches. After a strong wind event, run the six-inch balance test again and check hinge play. Wind load is a frequent cause of gradual post lean in this valley.
- Create a digital folder. Label it “Gate Maintenance” and store it in a cloud drive or on a computer that isn’t tied to a single phone. Gate ownership changes hands; the log should survive a phone upgrade.
- Name every photo with the date and inspection item. Use a consistent format: “2026-03-15 hinge-left-lateral-play.jpg.” This takes three extra seconds per photo and turns a camera roll into a searchable record.
- Take three types of photos every inspection: a full-view photo of the gate in its closed position, a close-up of the hinges or wheels, and a close-up of the operator and any visible labels or indicator lights.
- Record measurements in a simple running table. Columns: Date, Balance Drift (inches), Hinge Play (inches), Stopping Position (consistent or not), Photo-Eye (operational or not), Notes. Log it every inspection, even if everything passes.
- Photograph receipts and work orders. Every time a technician visits, file their documentation in the same folder. A history of past repairs, with part numbers and dates, saves the next technician diagnostic time and saves you money.
- Visual inspection of hinges, wheels, operator housing, and safety devices
- Lubricating hinges and wheels with a dry-film or silicone lubricant
- Cleaning vent screens and track channels
- Running the balance test, photo-eye alignment check, and obstruction test
- Trimming vegetation back from the gate’s travel path
- Maintaining the dated photo log
- Any work on the operator motor, control board, or electrical connections. These systems carry line voltage, and a wrong connection can destroy the board or create a shock hazard.
- Adjusting or replacing photo-eyes, safety edges, or limit switches. These are safety-critical components, and improper adjustment leaves the gate non-compliant with UL 325 and California code.
- Any spring or tension adjustment on a gate closer or tensioning system. High-tension springs can release stored energy suddenly. This is not a maintenance procedure; it’s a repair to be performed with the proper tools and training.
- Welding, post replacement, or any structural repair that involves moving the gate off its hinges or track.
- Replacing an operator motor or drive belt. Even if the brand is one you’re familiar with, a replacement involves limit setup, force settings, and safety input integration that affect whether the gate operates safely.
If your operator is showing signs of drift, noise, or heat, schedule service before it fails completely. We work on Viking, Ghost Controls, DoorKing, and Elite motors, among others, and a documented service visit costs less than an emergency repair. Our Gate Motor & Opener in Simi Valley page covers what a service call involves.
Safety Devices: Photo-Eyes, Edges, and the Obstruction Test
Safety devices are the components that stop the gate from closing on a person, pet, or vehicle. They are not optional add-ons; they are required by UL 325 and by California building code. See Gate Repair Permits, Codes & Inspections in CA: What You Need to Know for details. A malfunctioning safety device is a liability issue, not a convenience issue. Here’s how to test each one:
Document the results of each test with a photo. A photo of the aligned photo-eye beam, the obstruction test setup, and the safety edge condition takes 30 seconds and gives you a dated record that proves the safety system was functional on that date. That record has real value if a liability question ever comes up.
Simi Valley-Specific Wear: UV, Dust, and Heat Drift
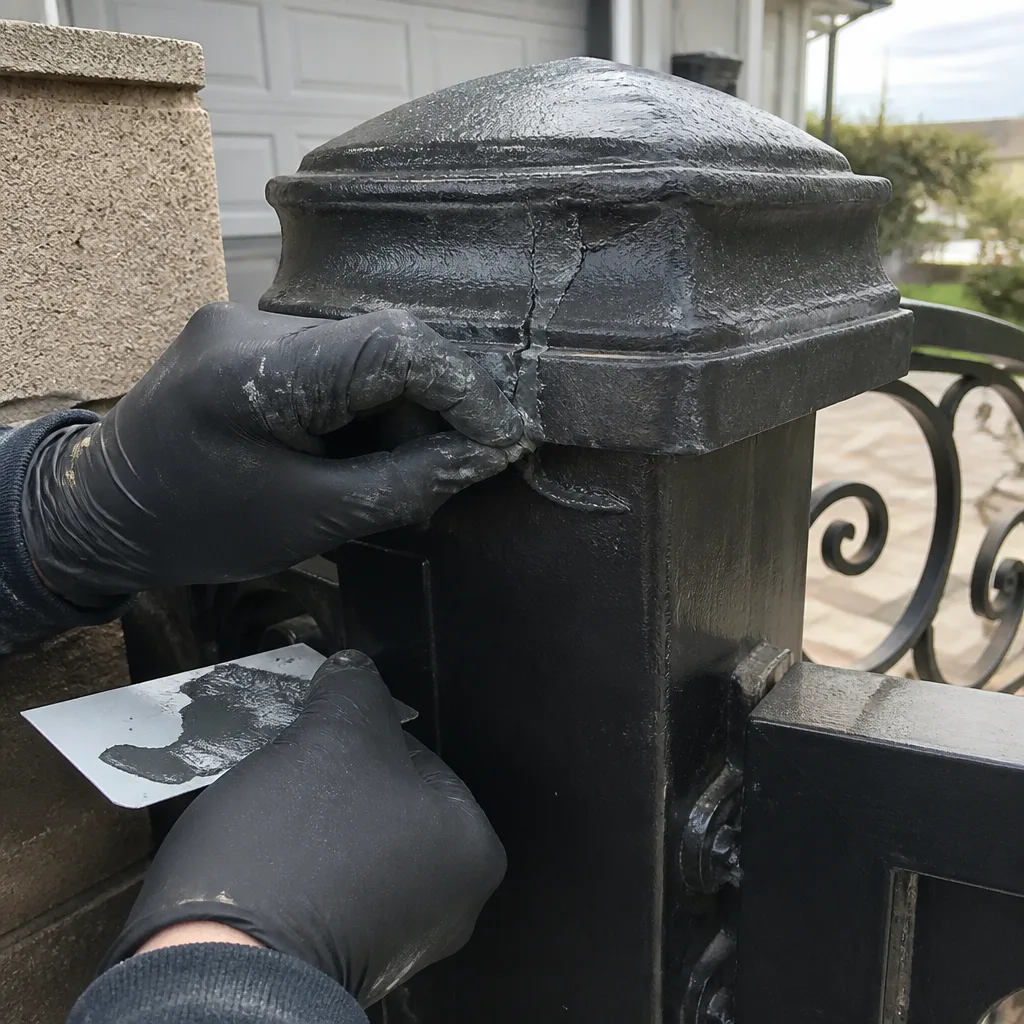
Simi Valley has a particular combination of environmental stresses that generic maintenance guides don’t address. Here’s what this climate does to gates and what to watch for:
Frequency matters. We recommend monthly inspections during the hottest months (June through September) and during peak Santa Ana season (October through November). During the milder months, a visual check every other month is adequate for most installations. Gates on unshaded south-facing exposures should stay on a monthly schedule year-round.
Building a Dated Maintenance Log That Technicians Can Use
Your maintenance log is not for your own memory; it’s evidence for the next person who touches the gate. A good log tells a technician what was normal before the problem started, which measurements changed, and what work has already been attempted. Here’s how to build one that actually helps:
This is the same documentation habit we bring to every Vance Gate Repair Simi Valley home service visit. Under The Haven Standard, we leave a written record of what was found, what was adjusted, and what was installed, with photos. Your own log should follow the same principle: evidence, not memory.
What’s Safe for Homeowners vs. What Requires a Pro
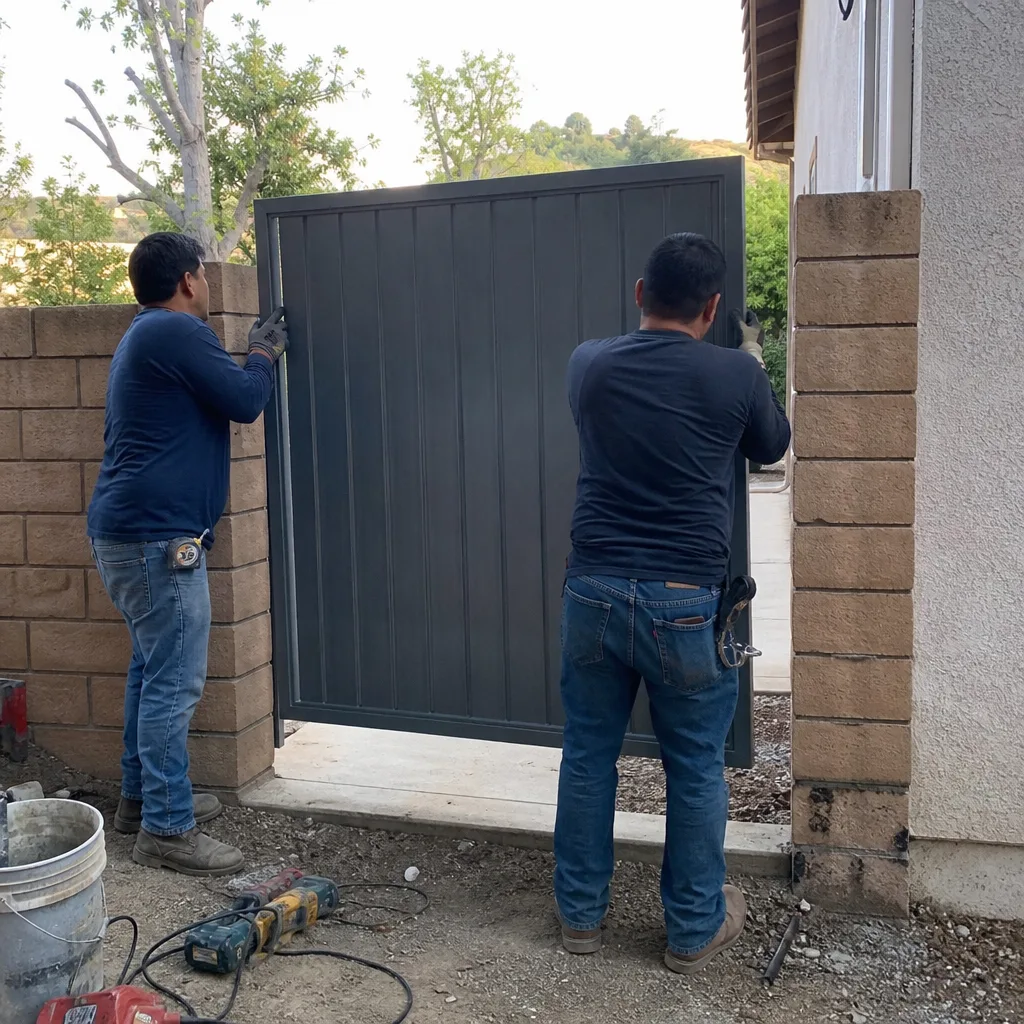
Some maintenance tasks are straightforward and safe for any attentive homeowner. Others cross into territory where a mistake can damage equipment, void a manufacturer warranty, or create a safety hazard. Here’s the line:
Safe for homeowners
Requires a professional
Manufacturer warranties commonly specify that unauthorized service voids coverage. If your gate or operator is still under warranty, check the terms before doing anything beyond the visual and lubrication tasks listed above. When in doubt, a documented professional visit costs less than a voided warranty.
If you’re planning a new install to replace an aging gate, our Gate Installation in Simi Valley page outlines what’s involved, including the same written-price and photo-record process we apply to repairs.
Common Mistakes to Avoid
- Lubricating with heavy grease. Grease attracts Simi Valley dust, turns into an abrasive paste, and accelerates hinge wear. Use a dry-film or silicone lubricant and wipe off excess.
- Skipping the obstruction test because the gate “always stops fine.” Safety devices fail silently. The obstruction test is the only way you’ll know the photo-eye and safety edge are actually working before something gets hit.
- Checking the gate “visually” without measuring anything. A visual check catches gross problems. It misses the 1/8-inch hinge play, the 6-inch balance drift, and the inch of limit-switch movement that signal a problem six months before the failure. Measure or don’t bother.
- Ignoring the manual release because you never use it. The manual release is for emergencies. If it’s seized when you need it, you’ll be locked out of your own property. Test it quarterly.
- Pressure-washing the operator housing. Water under pressure forces dust and debris deeper into the housing and onto the control board. Clean the exterior with a damp rag, not a pressure washer.
- Trimming vegetation only when it’s already touching the gate. By the time foliage contacts the gate, it has already been adding drag for weeks. Maintain clearance proactively; when you see a branch within 6 inches, trim it that day.
- Not documenting anything. An undocumented inspection might as well not have happened, because when the gate fails, you’ll have no baseline to tell the technician what changed. Log every measurement.
When to Call a Professional
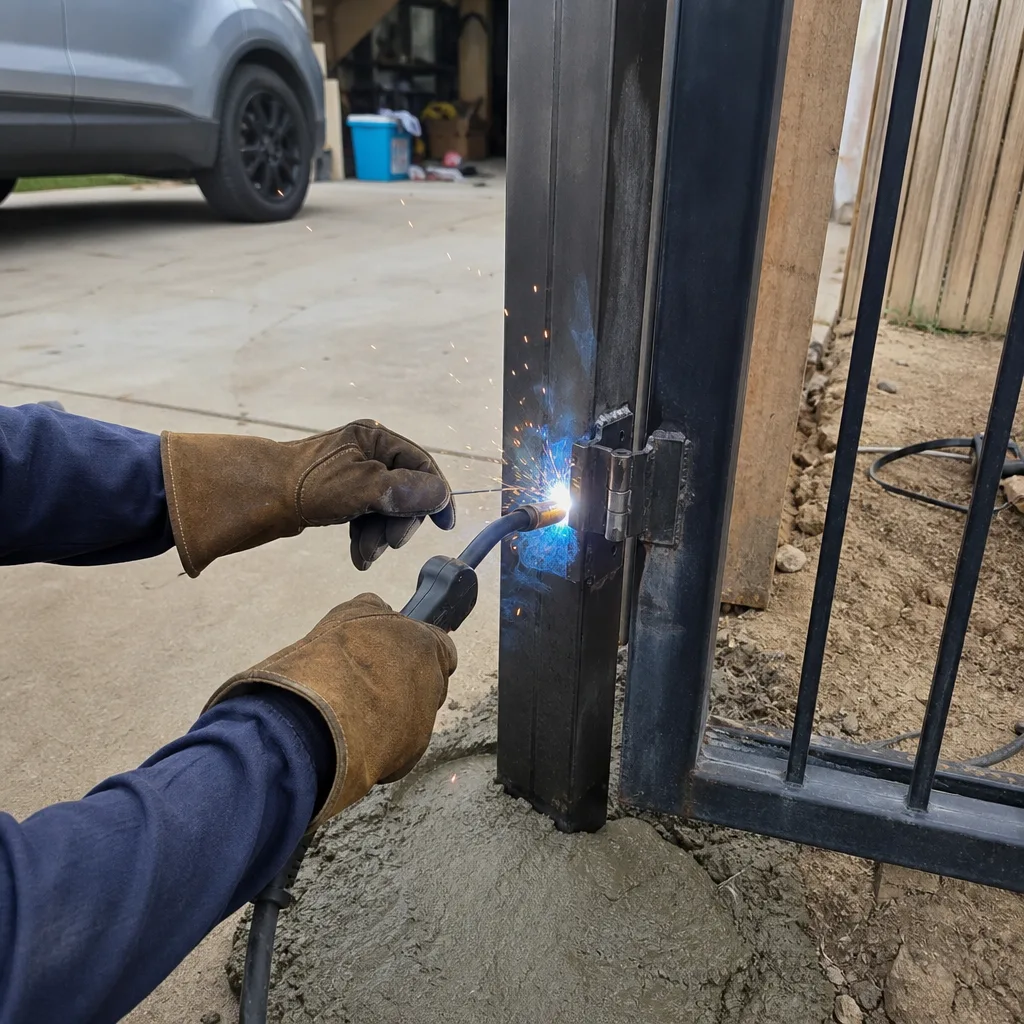
Call a gate technician when you observe any of these: a balance drift exceeding 6 inches, hinge play beyond 1/8 inch, visible sag over 1/2 inch, a burned or electrical smell from the operator, a safety device that fails any test, recurring limit-switch drift, or a gate that changes speed or sound during travel. These are not maintenance items; they are early failures that only get more expensive with time. For Gate Repair services, Vance Gate Repair Simi Valley offers free estimates in Simi Valley, and every job includes a written price before work starts, with a documented photo record when the technician leaves. Call (805) 516-0479 to schedule an inspection.
Frequently Asked Questions
Monthly during the hottest months (June through September) and during Santa Ana season (October through November); every other month during the milder parts of the year. South-facing unshaded installations should stay on a monthly schedule year-round due to heat-related limit-switch drift and UV exposure.
Simple lubrication and inspection you perform yourself costs under $30 in supplies. A professional inspection and tune-up typically runs $95 to $200 depending on the gate type and what needs adjustment. Repairs found during maintenance are priced separately, and a written quote should be provided before any work starts.
Gate balance and travel, measured with the six-inch release test. An unbalanced gate forces the operator motor to work harder on every cycle, which is the single biggest predictor of premature motor failure. Run this test at three points in the gate’s travel every inspection.
Yes. Use a dry-film or silicone lubricant, apply it sparingly, and wipe off the excess. Do not use heavy grease, which attracts dust in Simi Valley’s dry climate and turns into an abrasive paste that accelerates wear.
This is typically heat-related limit-switch drift, a common issue on south-facing installations in Simi Valley where direct afternoon sun causes metal expansion that shifts the limit hardware. If the drift is consistent and your balance and safety checks pass, a technician can reset and secure the limit position.
Pull the manual release to disengage the operator and open the gate by hand, then check the breaker and any GFCI outlet the operator is plugged into. If the gate operates manually but not electrically, the operator or control board has failed. Call a professional for diagnosis; do not attempt to open the operator housing yourself.
The Bottom Line
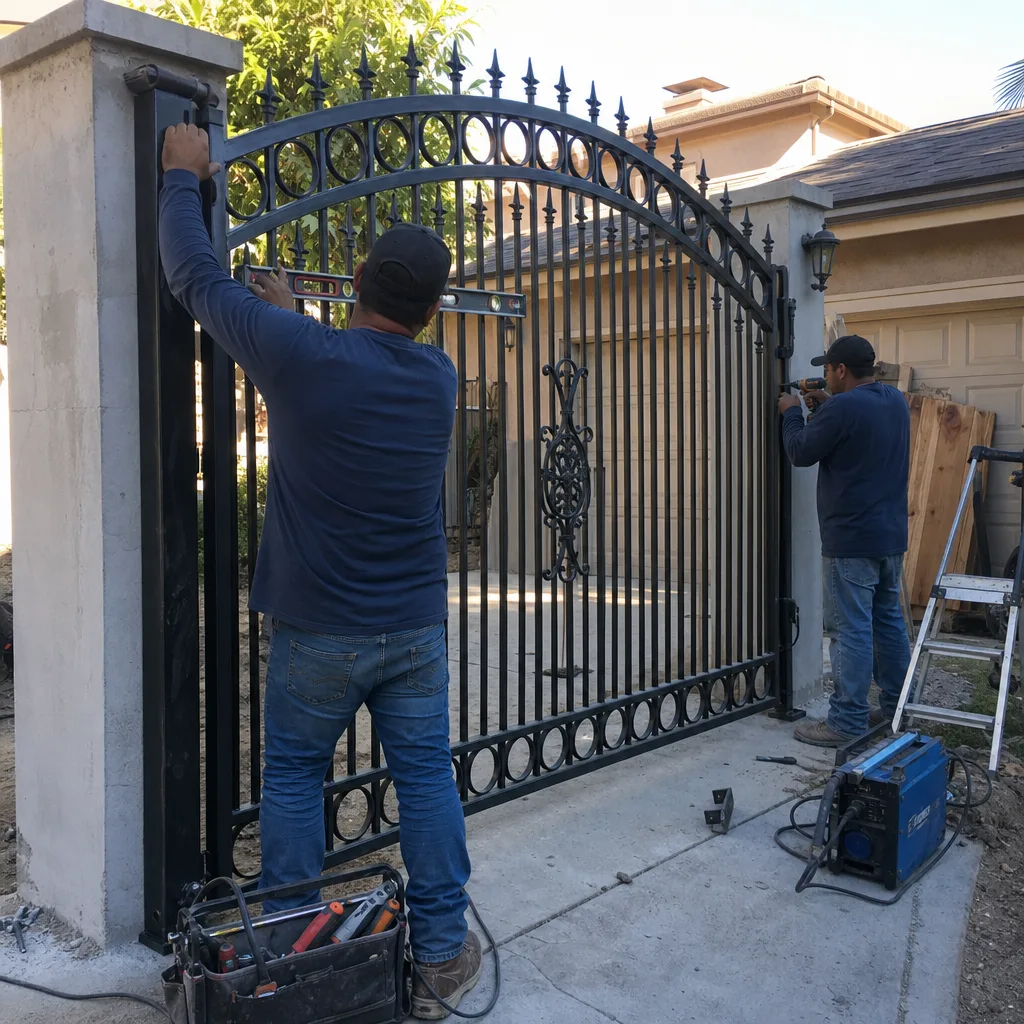
A gate maintenance checklist-like our Gate Repair Warning Signs: A Simi Valley Homeowner’s Reference Guide-is only worth keeping if each item has a threshold you can measure against. The six-inch balance test, the 1/8-inch hinge play measurement, and the monthly obstruction test are the specific, observable standards that tell you whether your gate is actually healthy. In Simi Valley, the schedule should bend toward the climate: more frequent checks during heat and wind season, with special attention to UV degradation, dust intrusion, and limit-switch drift. Document every check with a dated photo and a simple measurement log. Your future self, and the technician who eventually works on the gate, will have the evidence needed to catch small problems before they become large invoices.
Written by Adrian Vance, Owner at Vance Gate Repair Simi Valley, serving Simi Valley since 2014.